First is Google Docs Online
Set Up a Google Gmail account by going to https://accounts.google.com/signup/v2/webcreateaccount?flowName=GlifWebSignIn&flowEntry=SignUp
Enter your first and last name and the email address you would like to create:
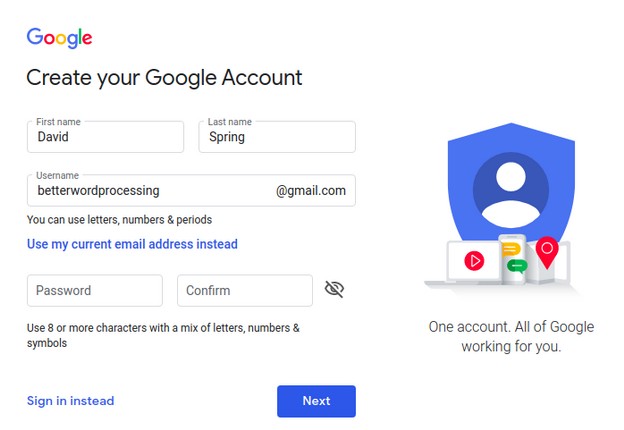
Then enter a password with 8 or more characters using lower case and upper case letters and numbers and special characters. Then repeat the password. Then click Next. Assuming no one else has already taken your desired email address, you next need to enter a phone number that Google can send a text message to to verify your new account. Look at the text message and enter it into the verification code box. Then enter a backup email address along with your birthday and gender. Then click Next. Then decline adding the phone number to other services and agree to the terms. Then this screen will appear:
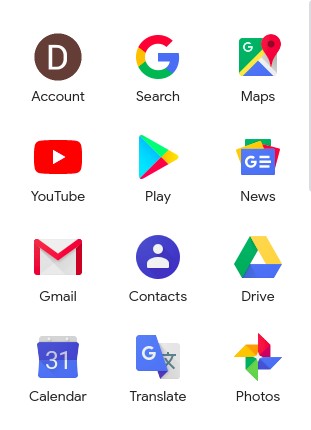
To reach your new Gmail account, click on the Gmail icon. But we want Google Docs. To reach this, click on the Drive icon.
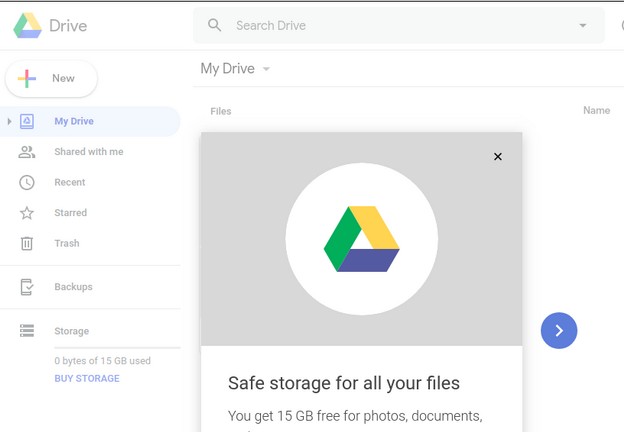
There is a slideshow you can watch by clicking on the blue arrow. At the end click on Take Me to Drive. You will see a PDF called Getting Started. You can right click on it and open it in Google Docs. Then click File Move to Trash.
Then click Go to Docs Home screen and dismiss the tour.
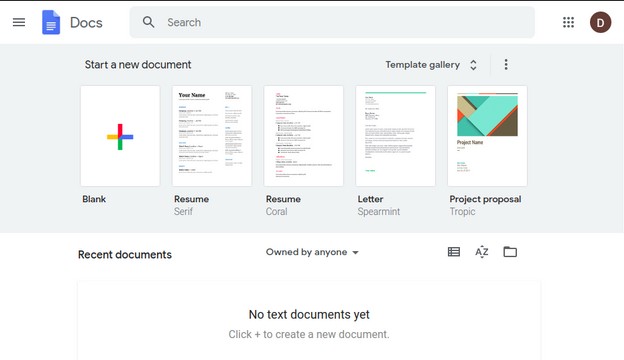
The above is the icon view showing a button to create a blank document. Then click on the left point arrow to hide the outline. Click on the right pointing arrow to hide the side panel. Click on View, Show Ruler to hide the ruler. Then narrow the window so that the browser only takes up half of your desktop (so that we can do side by side editing). Here is the default Google Docs New Document screen:
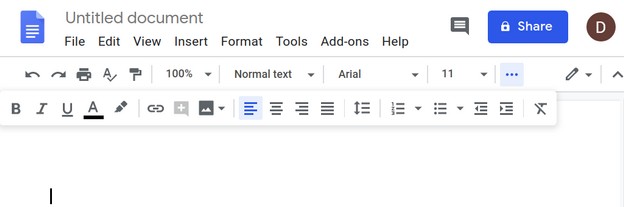
Click on the three dots to show more functions:
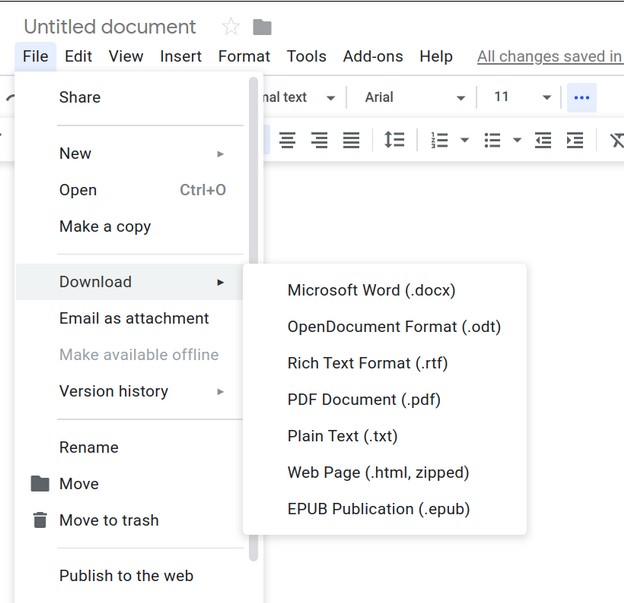
There are 8 top level menu items. Here is the File Menu with its second level menu items:
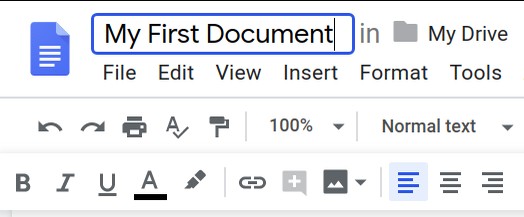
Google Docs does not have the usual File, Save and File, Save As buttons. Instead Google automatically saves all changes you make. You should first change the name of your document using File, Rename.
You can then download your document to your personal computer file manager as a Word DocX document or a Writer ODT document (or even a PDF, HTML or Epub document) by clicking File Download. To close the document, simply close the browser tab. If your new document does not show in your Google Drive page, refresh the browser window and you should see it:
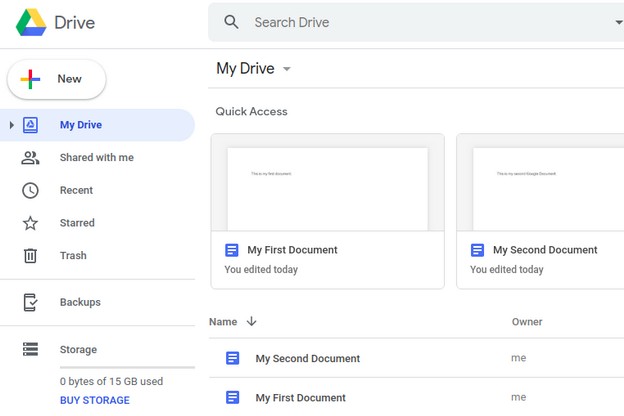
Select the document with a left click of your mouse. Then right click to bring up your options. Click Open with Google Docs to bring your document back up for more editing.
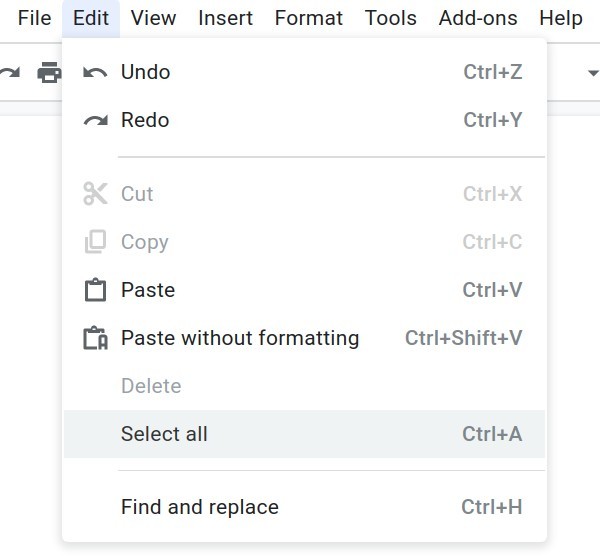
Here is the top level Edit menu item with its second level menu items:
The top level View menu item does not have any major functions. Here is the top level Insert menu item with its second level menu items.
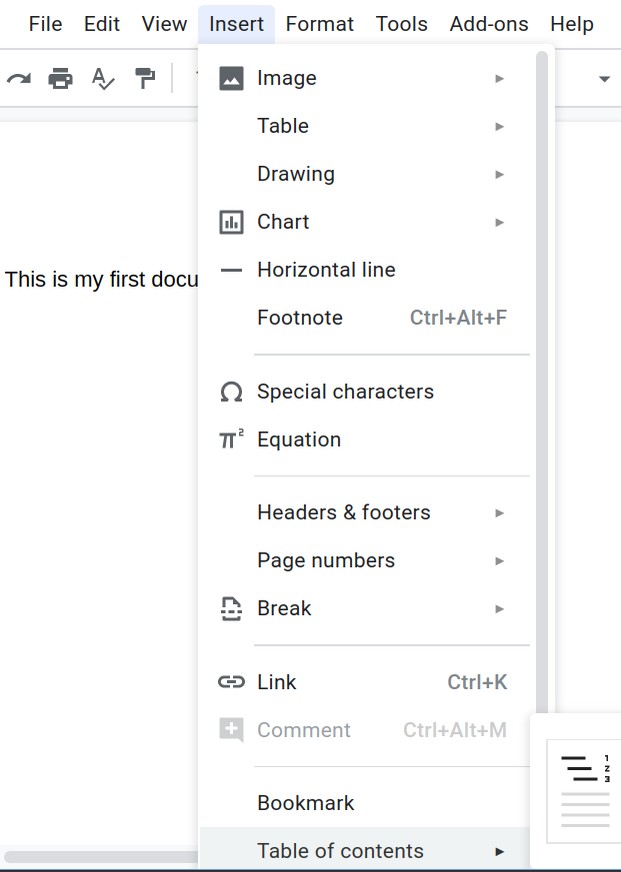
We will use Insert very often to insert images, tables, headers, footers and page numbers. However, after inserting an image, right click on it. You will see that there is no option to optimize, compress or reduce the file size of the image. Google recommends using a different image editor before importing images to Google Docs. However, this is a huge problem for those who understand the importance of including images and screen shots with your documents and this lack of ability makes Google Docs virtually unusable.
Google Docs does allow us to create a Table of Contents. However, the formatting options for the Table of Contents is very limited and difficult to change. Here is the top level Formatting Menu item with its second level menu items:
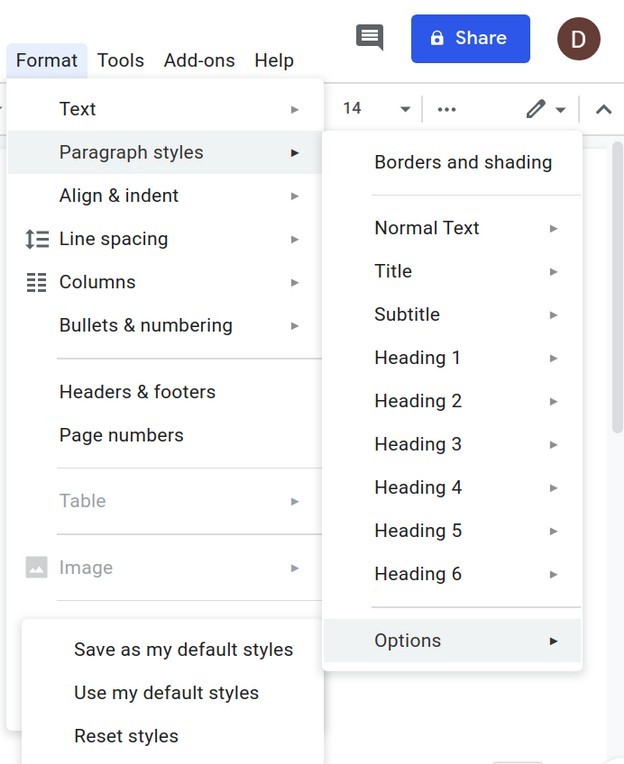
Paragraph styles are one of the most important aspects of word processing. Google Docs allows you to change your styles by first creating a style you want and then selecting it and clicking on Format, Paragraph Styles, Options, Save as my Default Styles. This is a cumbersome and inflexible way to create styles.
We will first learn how MS Word and LO Writer create custom styles before coming back to Google Docs Style creation. The Tools menu item only has a few functions the most used of which is the Spell Checker. The Add-ons menu item links to a site with lots of add-ons. However, most of them do not work. Now that we are familiar with Google Docs, let’s compare it to MS Word Online.
Second is How to Set Up and Use MS Word Online
Just as you need to set up a Google account in order to use Google Docs, you need to set up a Microsoft account in order to use MS Word Online. Go to
https://office.live.com/start/Word.aspx
Then set up an account or log in with your existing account. This brings up this screen
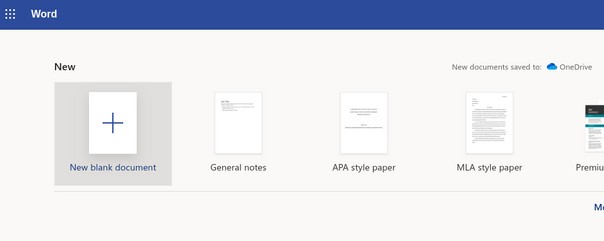
Click on New Blank Document to bring up a new Word document. Narrow the window so it only takes up half of your desktop and the workspace looks like this:

The document opens to the Home top level menu item. Just as a Google Doc is connected to your Google Drive account, this MS Word online document is automatically saved to your MS OneDrive account. Click on the three dots to bring up more editing functions:
Like Google Docs, MS Word Online has 8 top level menu items (which MS calls Tabs). But unlike Google Docs, there are no second level menu items. Instead, clicking on any top level menu item changes the toolbar below it (which MS calls a ribbon) and sometimes brings up an entirely different window altogether. Here is the screen that appears when you click on the File tab:
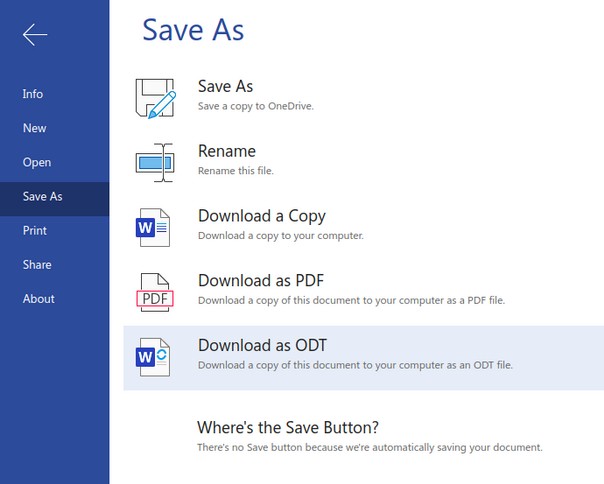
Like Google Docs, there is no File Close button and there is no File Save button. Note that you can download a document as an ODT Writer document. Click on the back arrow to return to the Edit screen.
Here is the Insert tab ribbon items:

There are at least five problems with this tab. The first is that there are two many functions displayed on this ribbon. It is so wide that it is difficult to have the ribbon open and still be able to do side by side editing where the word processor only takes up half of your computer screen.
The second problem is that even more important functions such as Inserting a link are hidden behind the three dots (something you just need to remember) and something that requires an extra click to get to.
Third, to do more formatting after inserting an item, you need to click on the Home tab which is in fact the Formatting menu item on Google Docs and LO Writer. These formatting functions are permanently displayed on both Google Docs and Libre Writer but they are hidden on MS Word unless you are already on the Home tab.
Fourth, you cannot insert a Table of Contents making this tool inadequate for organizing long complex documents. But the worst problem is that when you insert an image, there is no option to optimize or compress the image. As it was with Google Docs, this is a fatal flaw for folks who understand the importance of adding images and screen shots to their documents.
Here are the Layout tab ribbon items.

Again, this ribbon has too many functions which makes it difficult to use with Side by Side editing. Another problem with this ribbon is that there is not a clear separation of Page Layout functions from Paragraph Layout functions as both appear on the same ribbon. There is also more Paragraph formatting functions hidden behind the three dots – all of which you just have to remember.
Here is the References ribbon:

It appears that this ribbon will allow you to insert a Table of Contents. But when you click on it, nothing happens. The Review tab has some Track Changes functions and the View tab has some zooming functions.
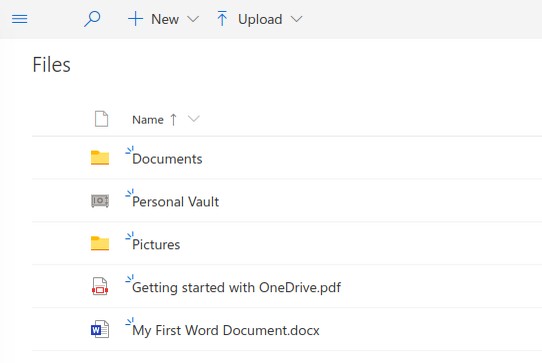
To rename the document, click on File Rename. You can then view the document in the OneDrive file manager by clicking on One Drive near the upper left corner of the Edit screen. By default the file manager opens in the Icon View. Click on Sort, then list in the upper right corner to change the file manager to List View.
To open the document again, right click on the file and click Open with One Drive.
Normally, to save a Word document as a new custom template, you would click File, New. Then under Available Templates, you would click “New from Existing”. Then select the document you want to turn into a template and click Create. However, this custom template creation option seems to be completely missing from the online version of Word – as are many other important functions.
Compared to Google Docs, there are not a lot of font choices and there does not appear to be a way to add additional fonts. Default Line Spacing is set at 1.08 which is less than the default line spacing for Google Docs and LO Writer both of which use 1.15.
In short, the online version of MS Word is not as functional as Google Docs. It cannot be customized and is not useful for the creation of long complex documents. Now let’s look at the online version of LO Writer.
Third is How to Set Up and Use LO Writer Online
As we noted earlier, to try the online version of LO Writer, just go to this website: https://signup.gmx.com/#.1559516-header-signup2-1
Like with Google and MS, you need to register for a free GMX account which includes a free email address as well as access to a file manager and LibreOffice Online word processor.
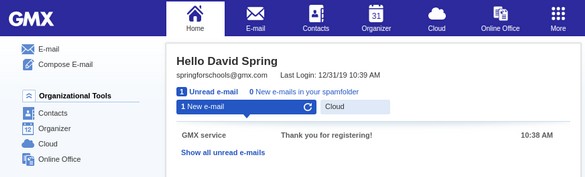
Click on Online Office in the top or side menu.

Check Do Not Show this message again and close the popup. Then click New Document.
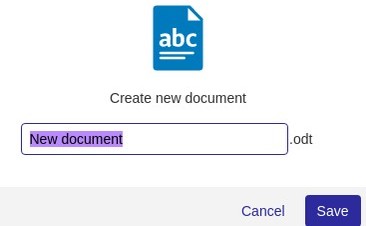
Change the name of the document to My First Writer Document. Then click SAVE.
A pop up then displays the name of the folder that this document has been saved to.
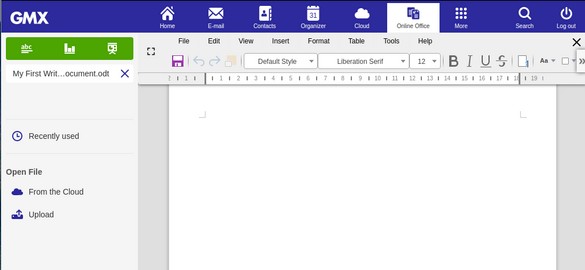
Move the right edge of the browser window to the left to hide the left panel:
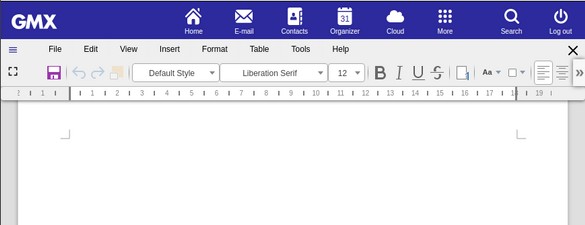
Like Google Docs and MS Word, there are 8 top level menu items. Here are the File Menu options:
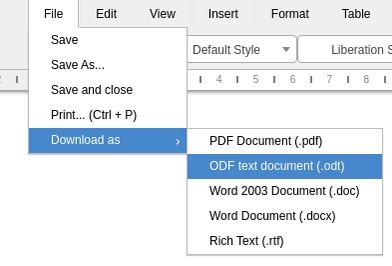
By default, the document is an ODT document. But you can save it as an ODT, Doc, DocX or PDF document to share with others.
Sadly the LO Writer Online File menu is missing the custom template tools. Here are the Edit menu options:
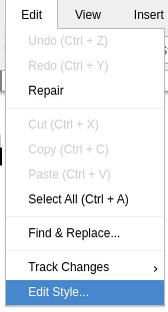
Clicking on Edit Style brings up the Writer Paragraph Style screen:
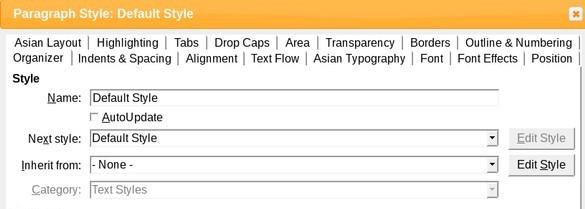
We will cover this screen in more detail in a later class. The View menu only has zoom in and zoom out. It does not have View options for customizing the toolbars.
Here are the Insert Menu options:
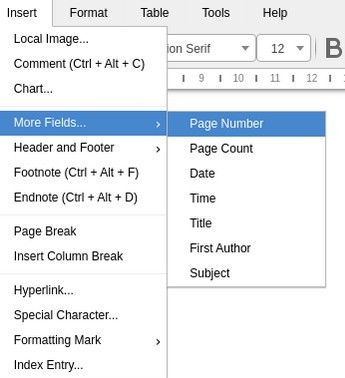
There is not an option for inserting a Table of Contents.
Also, when you insert an image and then select the image and right click on it, there is not an option to compress the image, reducing and optimizing the image.
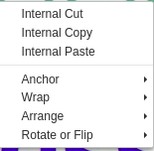
You also can not crop the image. You can only change its size, wrap, alignment and padding.
Here are the Format Menu options:
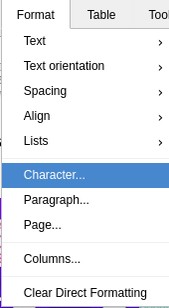
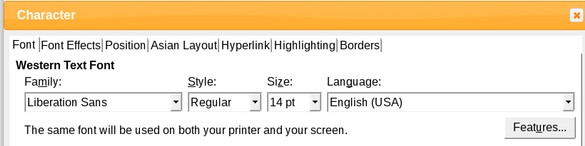
Clicking on Character brings up the complete Writer Character screen:
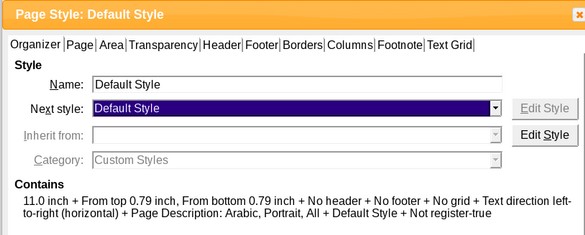
Clicking on Paragraph brings up the complete Writer Paragraph Formatting screen we have seen above. And clicking on Page brings up the complete Writer Page Layout screen:
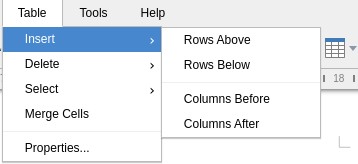
For the Table Menu Item options to be active, you first need to insert a table by clicking on the Table icon which is on the far right side of the Formatting Toolbar.
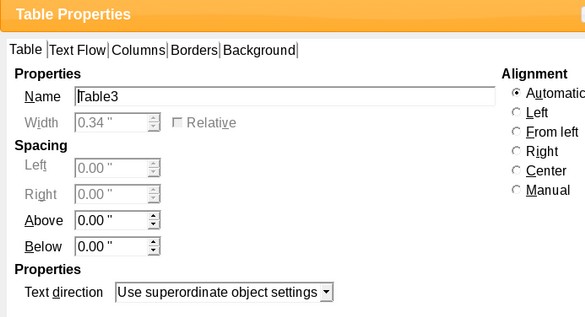
Clicking on Properties brings up the complete Table Properties screen:
Tools only offers a spell checker and no other customization options.
Here is a view of the GMX File Manager set for list view:
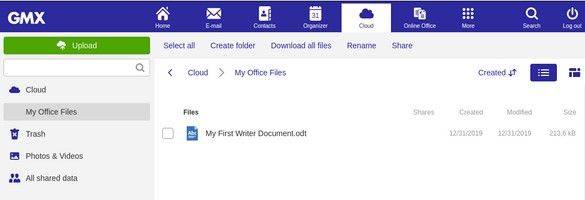
Right click on the item to choose Edit, Download, Delete, Copy, Move, Rename or Share. Right click on selected text in the word processor has limited options.
Right click on images have limited options that do not include compression! This is a huge drawback. In short, none of the three online word processors has useful tools for inserting and editing either images, templates or tables of contents. This makes all three online tools pretty useless.