In this section, we will use Paragraph Styles formatting to format some of our important areas including changing the Normal style, the Heading 1 style, the Heading 2 style, the Heading 3 style, the Footer style and the Header style. In the last section, we learned that we need to avoid using direct paragraph formatting if we want our paragraph style formatting to apply. We also learned that the Home Tab Paragraph group is actually applying direct formatting rather than style formatting. Here is a graphic to help you remember which areas of the screen to click on and which to avoid if you are writing a book and want to use style formatting instead of direct formatting.
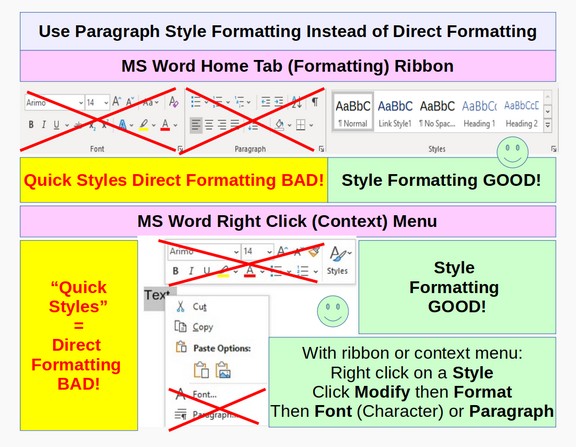
Whether you are using the Home Tab Formatting ribbon, or the right click Context menu, avoid using the direct formatting “Quick Styles” options and instead look for the Styles option.
Step 1: Add Custom Formatting to Normal Style
The Normal style is the style that MS Word applies to all text which does not have some other style applied to it. This should include all of the text in the content areas of your Preface and Chapters. In a previous chapter, we changed the values of the Normal style to Arimo 14. However, Word changed the Normal style back to Calibri Light 11. To see this, on the Home tab, in the Styles group, left click the Normal style to select it. Then right click and click Modify.
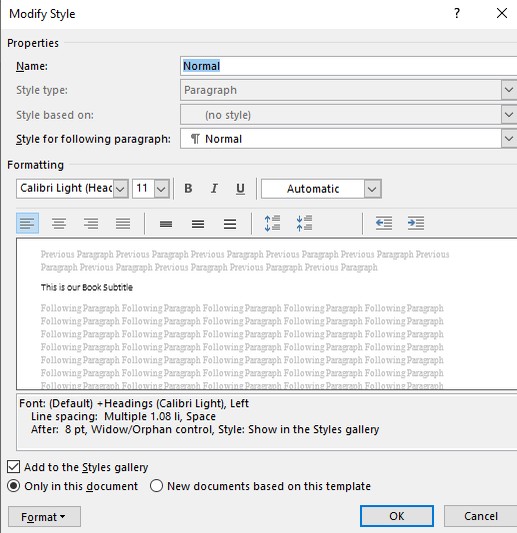
Change the Formatting on this screen back to Arimo 14. Then click Format > Paragraph.
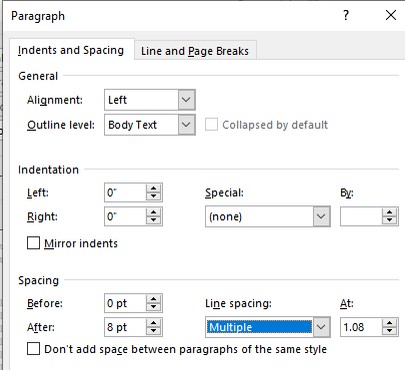
We need to improve these settings also. Increase spacing before to 6pt. Then increase Line spacing to 1.15. Then click OK and OK.
Step 2: Add Custom Formatting to the Heading 1 Style Title
To see the current settings for the Heading 1 style, on the Home tab, in the Styles group, left click the Heading 1 style to select it. Then right click and click Modify.
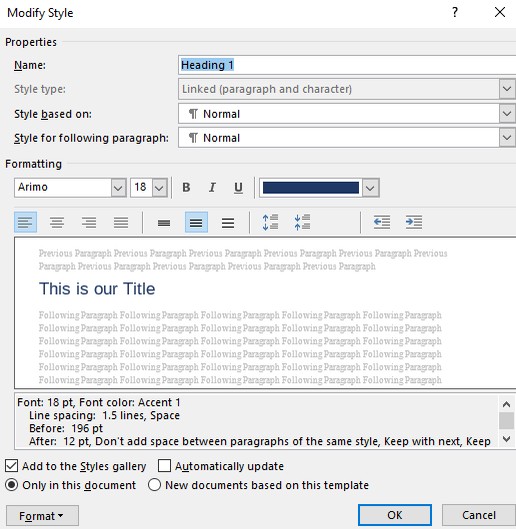
We have previously increased the Before Paragraph to 196pt. We have also changed the color to dark blue which is being shown as Accent 1. To gain more control over the font color, click Format, Font. Then use the drop down arrow to change the font color. Then click More Colors.
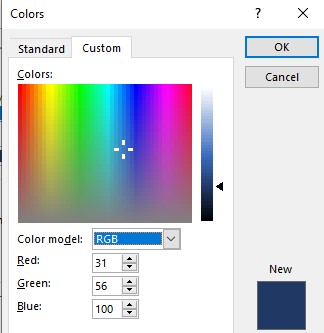
Sadly, Word does not have a way to choose colors for Paragraph Styles by their hexadecimal value. This is sad because we eventually want to convert our book paragraph styles to CSS styles and it would be much easier to do this with hexadecimal values which is the most common way colors are specified on web pages. So we will skip changing the color and instead click Cancel and Cancel.
Then click Format > Paragraph. There is no way to set the font color on this screen. So click Cancel. We will just leave these settings where they are.
Step 3: Add Custom Formatting to the Heading 2 Style Preface and Chapter Titles
Scroll down to the Preface title and select it. Then left click on the Heading 2 box to select it and right click and select Modify.
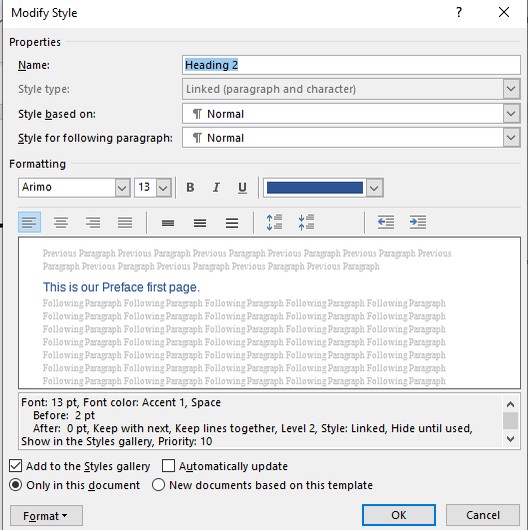
This has been set for Arimo 13 dark blue. Use the drop down arrow to increase the size to 18. Then click Format > Paragraph.
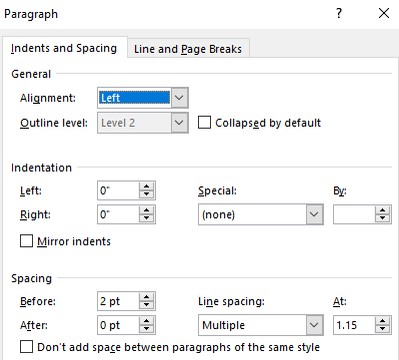
There is almost no paragraph spacing before or after. Increase the Before spacing to 66 pt to drop it about one inch down the page. Then increase the after spacing to 20 pt. Then click OK and OK.
We also want a bottom border with the Heading 2 Paragraph style. So select the text again. Then click Heading 2 Modify again.
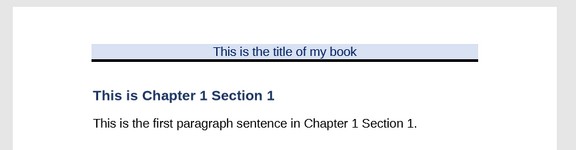
Then click Format > Border. Then in the diagram on the right, click on the bottom of the square to place a border on the bottom of the paragraph:
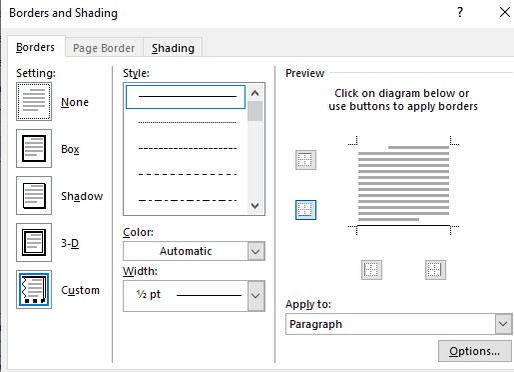
Change the color to Dark Blue and change the width to 3 pt. Then click OK and OK.
Scroll down and you will see that the Chapter 1 and Chapter 2 Titles also display this same formatting.
Step 4: Add Custom Formatting to the Heading 3 Style Section Titles
Scroll to the Chapter 1 Page 1 title and select it. Then left click to select the Heading 3 Paragraph Style and right click to select Modify.
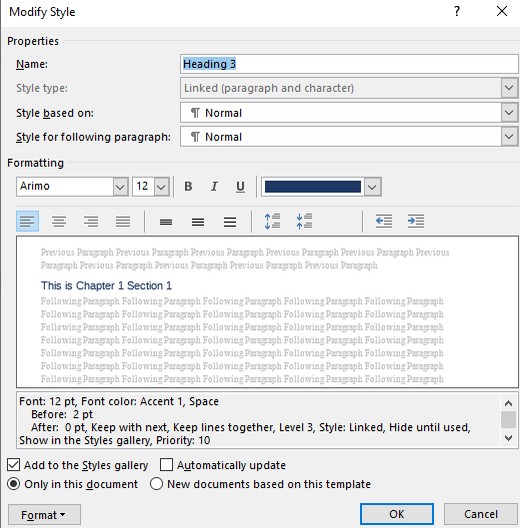
It is currently set for Arimo 12 dark blue. Click on Format Font. Then change the setting to Font Style Bold and Font Size 16. Then click OK. Then click Format > Paragraph.
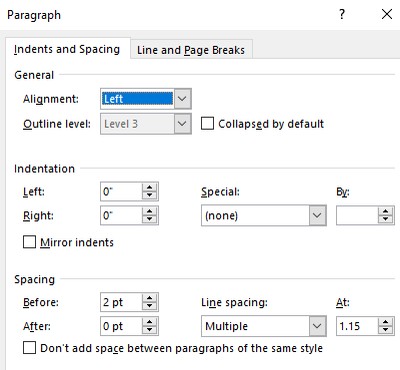
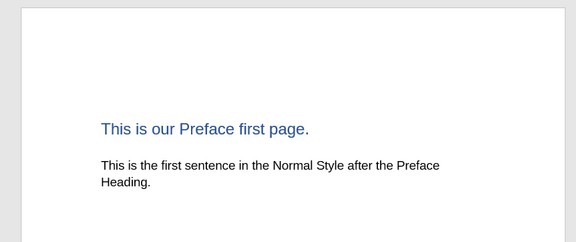
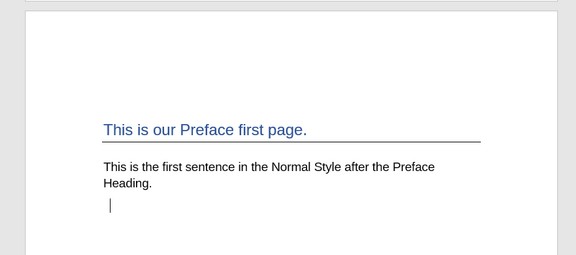
Again, almost no paragraph spacing. We do not need as much spacing as on our Chapter Headings, but we need enough to clearly offset the Section titles from the normal style text that comes after it. We will use 12 pt above and 12 pt below. Then click OK and OK. Here is what this looks like:
Step 5: Add Custom Formatting to the Header Style
The header above needs to have a line below it to more clearly separate it from the rest of the text. The font color should also be changed from white to black to make it more visible. We will also try to lighten the background color. The quickest way to find the header style is to click Insert > Header. Then click Edit. This will turn the header on. Select the header text. Then right click and click Styles > Apply Styles.
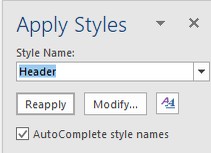
Then click Modify.
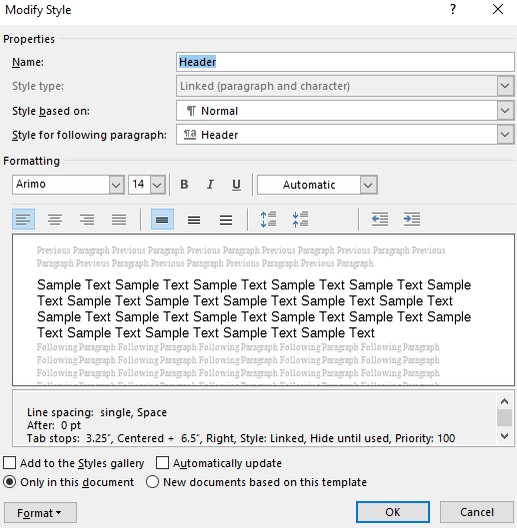
Click Format > Font and change the font to dark blue. Then click OK.
Then click Format Border and place a border at the bottom of the paragraph box.
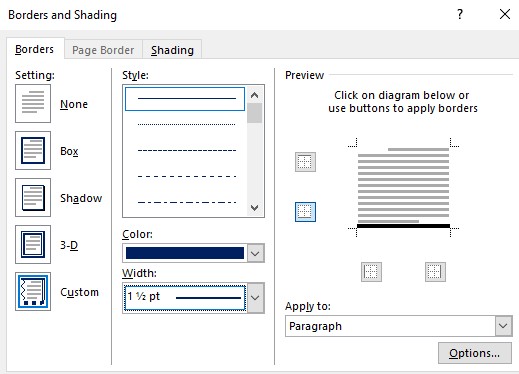
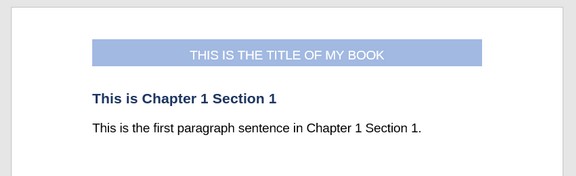
Then on the same tab, click Shading and change the background color fill to a very light blue. Then click OK and OK. Sadly, this resulted in duplicate headers. While the old header is still selected, click Header > Remove Header. Then type in the box, This is the title of my book. Then click Modify again and click Center for the Paragraph alignment. Then close Apply Styles and close the header and footer. Then save the custom book template as a PDF and see what the header actually will look like:
The good news is that the header looks pretty good:
The bad news is that the new header now appears at the top of all front matter pages and the Preface pages and the Chapter First Page sections – even though we just got done delinking those sections from the Chapter Section sections.
Scroll to the Header Section 1 at the beginning of the custom book template. Then right click Styles, Clear Formatting. Repeat for Section 2.
Then scroll down. The header now only appears on the Chapter 1 section pages and the chapter 2 first page. Close the Header and Footer. Then with the cursor on the Chapter 2 First Page, click
Layout > Breaks > Section Break > Next Page.
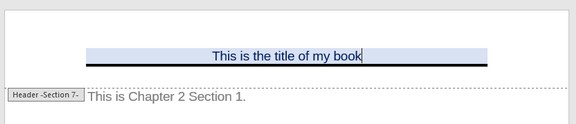
Type “This is Chapter 2 Section 1.” Select this sentence and assign it to the Heading 3 Paragraph style.
Now that we have moved this heading style past Chapter 2 First page, select the heading for Chapter 2 Section 1 and in the ribbon click Link to Previous to delink this header from the header on the first page. Then scroll up to the Second chapter first page header and right click and select Styles, Clear Formatting.
We now have a footer on the first section of chapter 2 but not on the first page in chapter 2. Finally, type the title of the book into the header for the second chapter sections:
Finally scroll down to the header for the last page. Select it. Right click on it and click Clear Formatting. This will prevent the title of the book from appearing at the top of the final page.
Step 6: Add Custom Formatting to the Footer Style
Click Insert, Footer, Edit Footer to turn on the footer. Then right click and select Styles, Apply Styles.
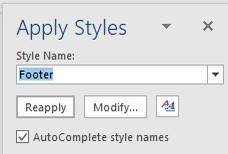
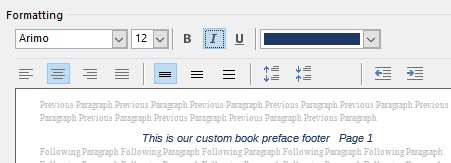
Then click Modify to modify the Footer Style. Reduce the font to 12, change the weight to italic and the color to dark blue and the alignment to center.
This finishes our custom paragraph styles for our MS Word custom book template.
Concerns:
A big problem is the inability to use a background image for a cover title. Another problem is the inability to use hexadecimal values to precisely define font colors in our Paragraph styles. Another big problem is we have very little control over where the headers and footers go on the page. A fourth big problem is the lack of clarity over what is a character style, a paragraph style or direct formatting. Calling Direct Formatting “Quick Styles” merely confuses the issue because Quick Styles are not styles at all.
What’s Next?
Now that we have our MS Word custom book template, in the next chapter we will cover other Word Processing challenges.