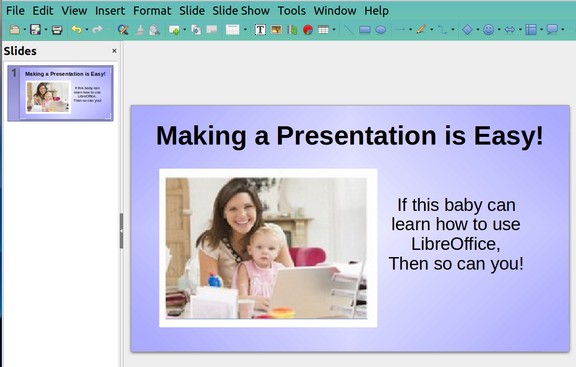
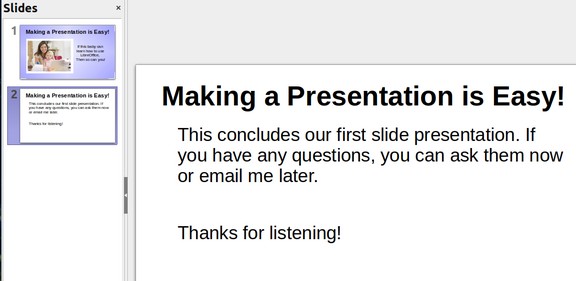
Our next mission is to create a Slide Presentation with LibreOffice Impress similar to the following slide.

The most impressive feature of Libre Office Impress is the ability to define a variety of custom background colors and effects. To open LibreOffice Impress from the Writer Menu, click on File > New > Presentation:
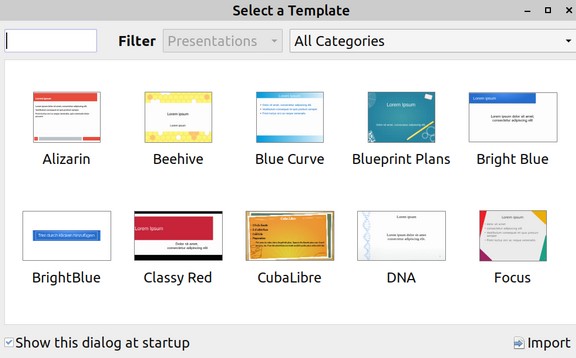
Impress will ask if you want to select a Presentation background template. Uncheck “Show this dialogue at startup.”
Then close this screen as we will make our own template.

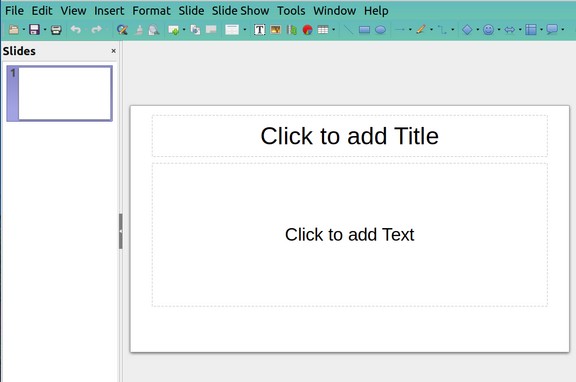
Our first job is to reduce the size of this screen. Close the Properties screen. Click View and uncheck the sidebar and the status bar. Also click View > User Interface and change from double toolbar to single toolbar. Here is what our simplified screen looks like:
Check to make sure the Presentation is set to a 16x9 Ratio
If we want to create a slide presentation to match our Acer C910 screen, or to use in a full screen video presentation, we should make sure the presentation has a 16 to 9 ratio. This is often called a Wide Screen Format. This 16 to 9 ratio is also the best ratio for a presentation that will be posted to Youtube. 16 x 9 is also a better ratio for posting a slideshow on the Home page of a website because screen height on the home page initial display is pretty limited. Click Slide > Properties. Then click on the Page Tab.
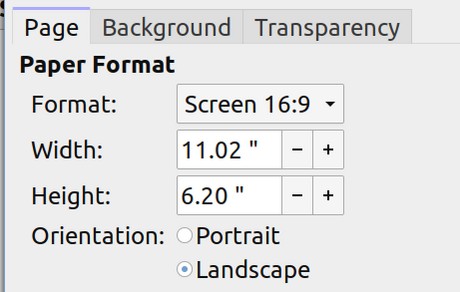
Luckily the default setting is 16:9. Click OK.
Change the Presentation Background Color
From the Slide > Properties screen, click the Background tab. Then click on the Gradient Tab:
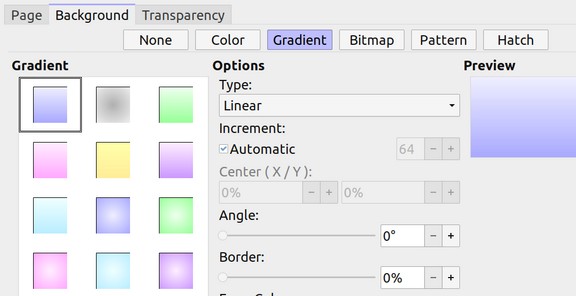
This brings up the Gradients options that we created with Libre Draw in a previous section. We will create some new backgrounds called Square. Change the Type to Square, change the center to 50% 50%, change the angle to 45 degrees and the border to 5 percent.
Then click Add and name it Square Blue. Then click OK.
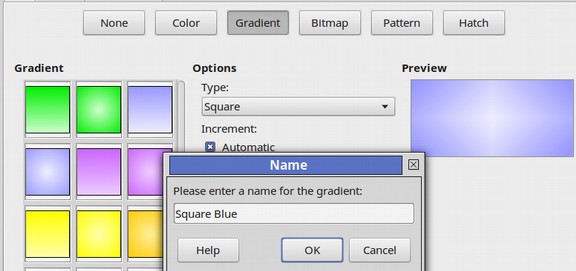
Repeat to create Square Red, Square Green and Square Purple. Then click OK.
Now that we have created the background color option we want, we are ready to change the background of the slides. Click Slide, Slide Properties, Background. Then click on the Gradient tab and select Square Blue. Then click OK. For Background Settings for All Pages, click OK.
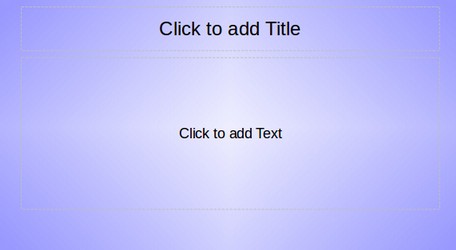
Add a Title, Image and Text box to this slide.
To add a second slide, in the top menu, click Slide New Slide.
You can also create a new slide by right clicking on the first slide in the Slides panel:
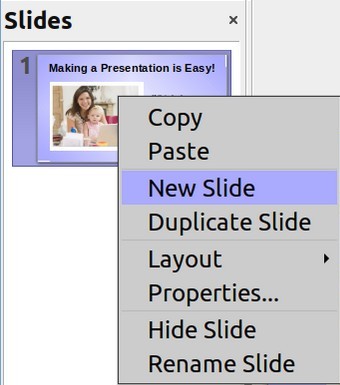
Then click New Slide.
Add Transition Effects
There can be different transition effects after each slide. Select the first slide and click Slide > Slide Transitions.
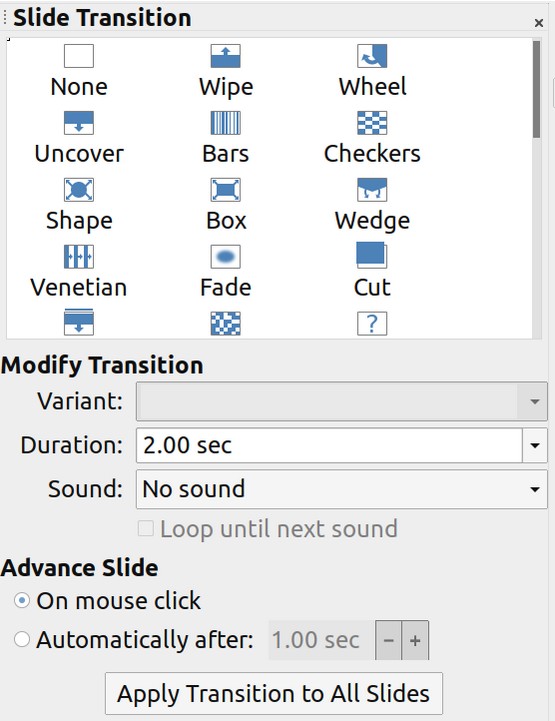
Click on various options to see what they do. Scroll down the top screen to see even more options. For now, click Fade. Leave the Duration at 2 seconds. Then click Apply Transition to All Slides. Then click File Save.
Practicing your Presentation
To start the Presentation in Full Screen mode, click Slideshow > Start from first slide. You can advance the slides either by clicking Enter on your keyboard or clicking on the current slide with your mouse. You can also click the Forward arrow on your keyboard. To go back to a previous slide, click the Backward or Left pointing arrow on your keyboard. To exit the slideshow, click on the Escape button in the upper left corner of your keyboard.
What’s Next?
This concludes our chapter on creating charts and graphs. In the next chapter, we will look at how to use Windows programs such as MS Word more securely by placing Windows onto a virtual stick or inside of a virtual machine. We will also look at how to add more functions to Libre Writer by adding Writer extensions. Finally, we will explain the benefit of expanding the concept of word processing to the creation of universal source documents.