Both MS Word and LO Writer have several pre-made custom table styles. And they both have a process to create your own custom table styles. Let’s start with MS Word.
How to Create a Custom Table Style with MS Word
To see the pre-made table styles in MS Word, open a document and go to Insert Table, then enter a blank table. Then select the table and in the Table Design ribbon, click on Table Styles More.
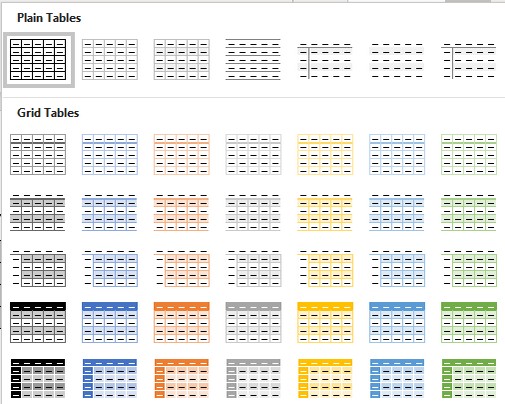
You can scroll down to see lots of options. If you do not like any of these options, and you want to design your own table style, click on New Table Style at the bottom of this screen.
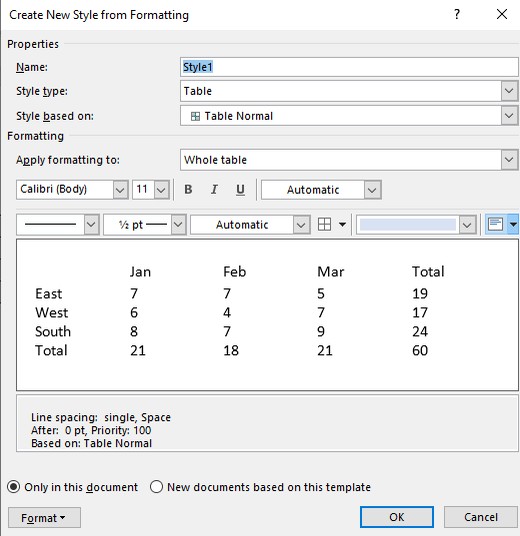
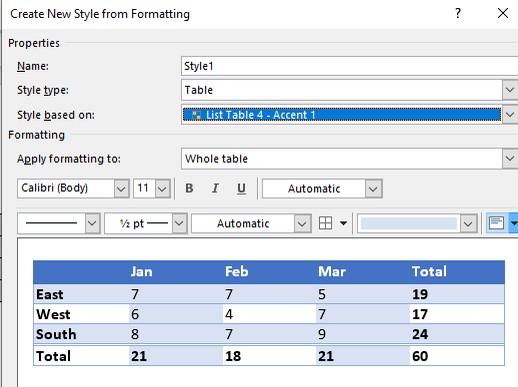
Click on the drop down arrow for Style based on. Then choose the option closest to what you want.
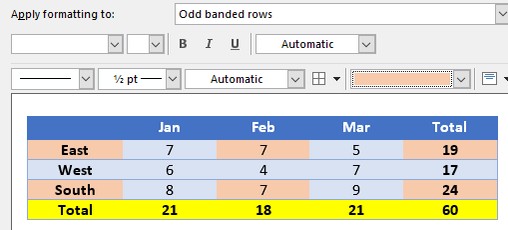
Change the font size and family. Use the blue drop down arrow to change the alignment to center. Change Apply formatting to odd banded rows only. Then change the color.
Also change the color of the total row.
Then click New documents based on this template.
Then test by inserting a new table in a new document. Then select Style 1
The problem with the above table is that there are no borders dividing the columns. Select the table. Then right click and click on the Borders Icon. Then click All Borders.
While MS Word is lacking on Page Styles and Image Styles, it has an excellent process for creating custom tables. Next, let’s look at the custom table style process for Libre Writer.
How to Create a Custom Table Style with Libre Writer
Open a new Writer document and click Table, Insert Table. The Heading check box (the first item in the Options) allows you to add a heading row to your table. This will be in the default table heading style. The font, background, and border can be changed, the default style also can be changed. If the table is long enough to spill over onto subsequent pages, you can repeat the heading rows on each page, so you don’t need to scroll back to the top of the table to remember what columns different data is in. Place a check in the box to make the headings repeat on subsequent pages.
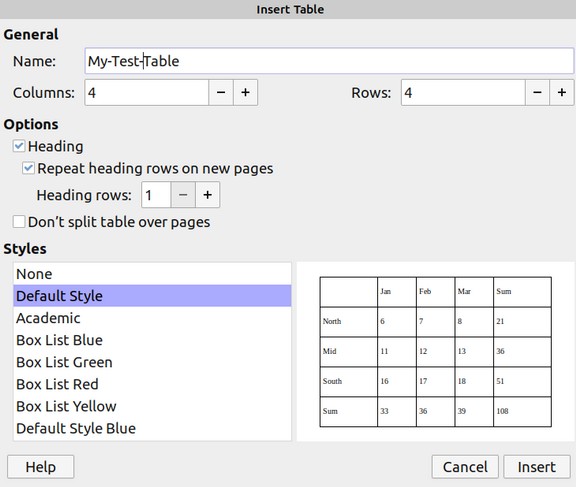
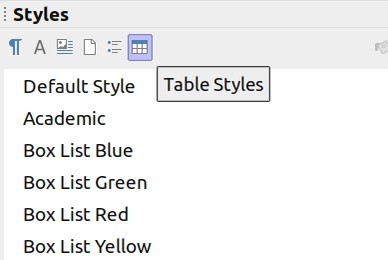
Below the heading and row number and column number area, you will see the pre-made styles right in the Table insertion screen. LO Writer Insert Table screen comes with 12 pre-styled tables. All of these Table styles can also be seen in the Styles box in the Table Styles category.
Sadly, the process for creating a new table style in LO Writer is not as simple as creating a new Page style, Paragraph style, Character style or Graphic Style. You cannot just right click on an existing table style and click NEW.
In fact, the process is so hard that many people prefer to simply create a custom table and then keep a blank copy of that table in a separate Writer document. You can then copy and paste your custom table into your new documents. This is very easy.
But what if you want to actually create your own custom Writer table styles so they will show up in the Insert Table screen and the Table Styles screen?
To define a new Table Style, you need to design a 4x4 Table in another Libre Office tool called Libre Calc. We will create a custom table style in LibreOffice Calc and import it into Writer.
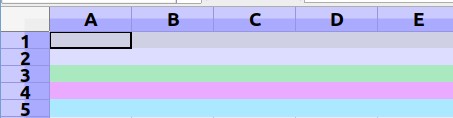
Open up a new blank Libre Calc document with File, New, Spreadsheet. The spreadsheet is already a table so there is no need to insert a table. Just format some rows and or columns just the way you want the new Table Style to look. Below, we have selected rows and changed their background colors. But we could have just as easily selected columns and changed their background colors.
By default, the cell borders are not shown. To add cell borders, click Edit, Select All. Then right click and select Format, Cells. Then click on the Border tab:
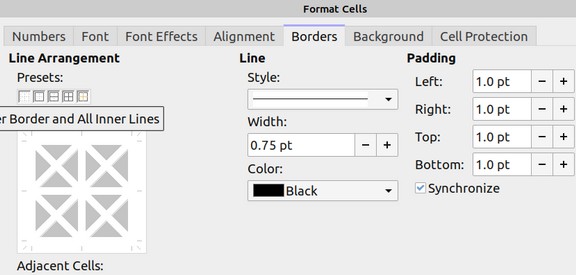
Under Line Arrangement, click on the fourth icon which will place visible borders on all outer and inner lines.
Then click Edit Select all and click Format, AutoFormat and click the Add button. Give your new table style a name like Colorful Rows. Then click OK then close the blank spreadsheet and go back to your Writer document and click Table, Insert Table. Your new table style will now appear in the list of custom table styles.

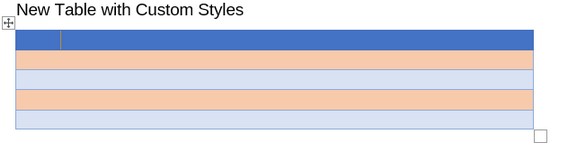
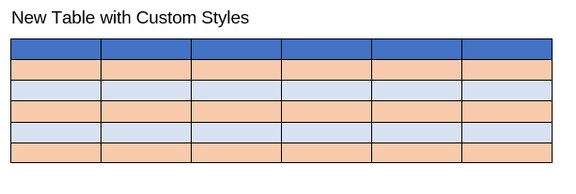
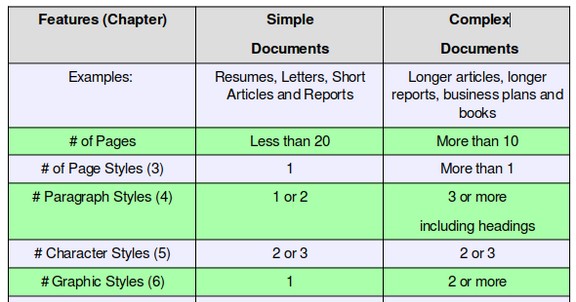
Check the heading row box. Then click Insert. Here is the result:
As shown above, a custom table can only have three different colors of rows. The first row will define the background color for the heading row. The second row will define the background color for all odd rows. The third background color will define the background color for all even rows. The bottom color will be white and define the background color of the total row.
Once you have a new custom Table Style, you can not only assign this style to any other new tables you create, you can even go back to any existing tables in your document and assign this style to them.
Just select the table, then click Table, AutoFormat Styles. Select your new custom style. Then click OK.
If you only want to change some elements of existing tables to match your new custom style, when you are at the AutoFormat screen, simply uncheck those elements you do not want to change. You can remove the different elements of the custom Table Style with the check boxes in the Formatting section:
Number format: A check in this box will use the formatted number, such as decimal points. Otherwise, the number format will be the default or the one that you set.
Font: A check in this box means that the table will use the formatted font. If it is deselected, the font that the document is currently set at will be used.
Alignment: A check in this box means that the table will use the formatted alignment. Otherwise, it will use the alignment setting at where the cursor is located.
Borders: A check in this box will use the border styles you see in the example. If it is unchecked, the default borders will be used.
Pattern: The pattern is the background colors and images, so a check in this box will include them. Otherwise, the background will be clear, showing the document normal background color (aka white).
Difference in Setting Table Styles Between LO Writer and MS Word
In LO Writer, you design an actual table style first, then you add it to the list of pre-defined custom table style formats. MS Word forces you to fill out forms to modify or create a new style. For beginners, it is probably easier to fill out a form. But for advanced users, you will have more control by creating your own table style from scratch.
MS Word Problems with Inserting Rows and Columns
Word is limited to how many that can be inserted at one time. Right click on a table in Word and click Insert and the following options appear:
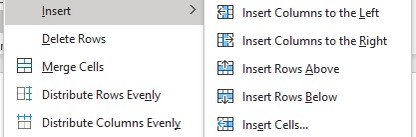
Click on Insert Rows below and it will only insert one row below. There will not be a screen giving you the option to choose to insert more than one row.
With LO Writer, when you right click on the table, the following screen appears.

Click Insert and you can either add a row below or above or click on Rows. This option brings up the following screen:
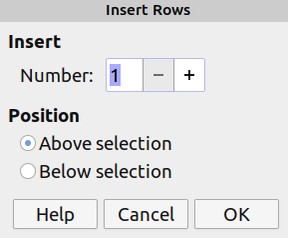
With this screen you can add as many rows as you need.