The Front Matter sections of our MS Word Book Template will have to be much different than the Front Matter sections of our Libre Writer Book template. This is because MS Word uses Sections instead of Page Styles – and these sections are very limited in their appearance options. For example, for our book cover page, there is no way to place a custom background image in a MS Word section. Instead, we will provide a work around to put our cover image in the foreground at the front of the MS Word book template and let it go at that. It is also much more difficult to style our Table of Contents. But we will do the best we can given these limitations.
Begin by opening up MS Word to a blank Word document and save the document as MS Word Custom Book Template.
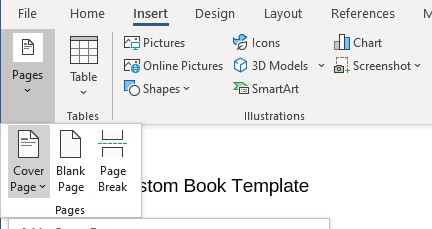
Step 1: Look at the Pre-made Cover Options
Before adding our own cover, or even creating our own custom book template, let’s look at some Pre-made MS Word book templates. Word has a few cover page templates you can insert and then customize if you need a quick cover page for your book document. To see these, click on Insert > Pages > Cover Page.
Here are some of the Cover page options:
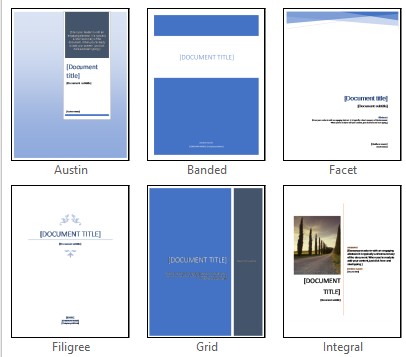
Unfortunately, none of these are a full image cover page. It is rather shocking that a company making more than one hundred billion dollars per year cannot provide a simple full image cover page. Equally shocking is the fact that Word does not come with a single true book template. We will therefore make our own custom book template with our own full image cover page.
Step 2: Add MS Word Section Break to create a blank cover page
We will use an MS Word Section Break to move our text to a new page and leave the cover page as an empty page. A section break is more than just a normal page break because it allows us to change the page formatting used on each section. Think of the section break as the MS Word version of LO Writer Page Styles – only the new sections (pages) are styled one at a time as you get to them.
Supposedly, section breaks allow you to change the formatting of a specific section without affecting the formatting of other sections. However, as we will see, MS Word does not always respect the boundaries between sections and often changes in one section will be transferred to other sections – requiring us to go back to previous sections and fixing them one at a time.
Because Word does not make page breaks and section breaks obvious, to show them, go to the Home tab and click on the reverse pointing P in the middle of the menu. This will show all formatting including section breaks. Then place your cursor at the beginning of the sentence you want to move to a new page. Then click on Layout > Breaks > Next Page. We now have two sections – one for our cover image and a second section with the name of our book template document on it.
Step 3: Add your Cover Image as a Full Width Background Image
We want to add our cover image as a background image just as we did with our Writer custom book template. We will set the size of the image to 8.5 wide by 11 high. Then click Design tab > Page Background > Page Color > Fill Effects
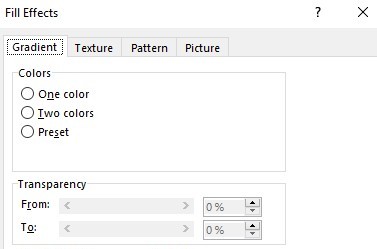
Click Picture > Select Picture > From a File.
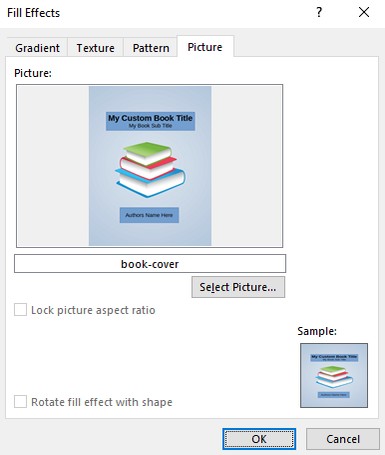
There is no Stretch option. Thus, this may not work. Click OK.
Click File > Save As > PDF and then view result.
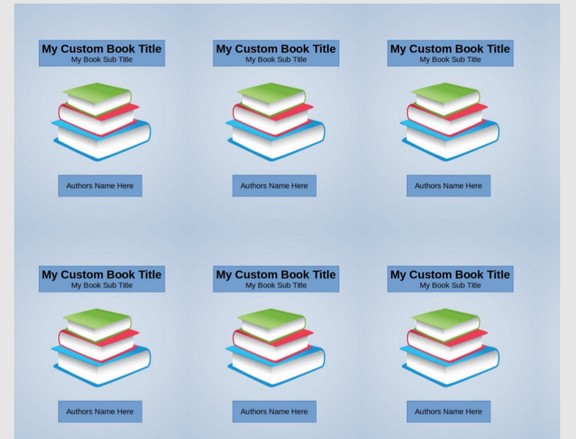
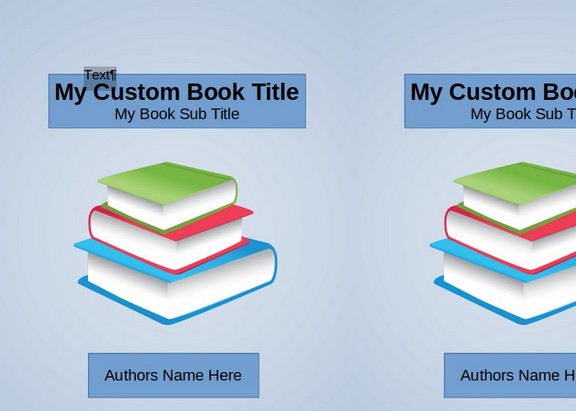
These multiple book cover images are also applied to all section pages. We will therefore need to come up with a work around where the cover image is applied to the cover page as a foreground image.
Step 3 Workaround: Add your cover image as a foreground image to the first blank page
Add the cover image we created in the last chapter to the first page.
I have added a couple of paragraph breaks using Enter on my key board. This is generally a bad idea - but I did it to show the full section break/page break. We will remove these paragraph breaks after reformatting the cover page.
Step 4: Reformat the cover page margins
With your cursor on the cover page, click Layout > Margins > Custom Margins.
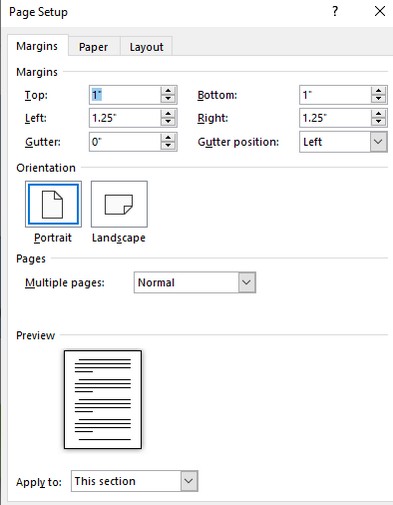
So that our cover image can take the full width of the page, change all four margins to 0. Note that these margins will only apply to this section. Leave the gutter set to 0 as we will deal with the book (inside) gutter later by other means. Click OK. Delete the Paragraph breaks on the first page.
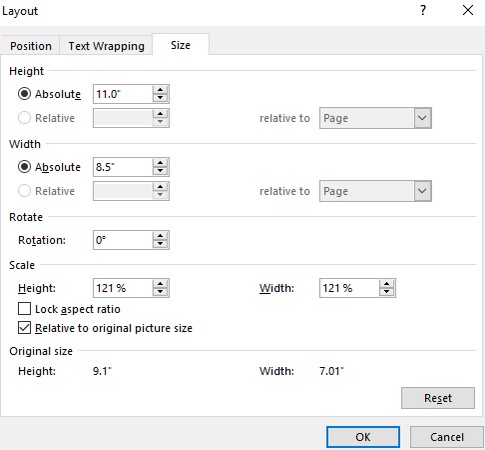
Step 5: Increase Cover Image Size to Match Your Page Size
Right click on the image and click Size and Position. Unlock the Aspect Ratio. Then change the height of the cover image to 11 inches and the width to 8.5 inches. Then click OK. Note that when we create our 8 by 10 book, we will need to remember to change the size of our cover image to 8 by 10.
To see if this results in a full cover image on the first page, save the document as a PDF file. Then open the PDF file.
You can also click View > Print Layout. So far, so good.
Step 6: Use Page Breaks to insert the Front Matter section pages
As in our previous chapter, all of the pages in the front matter section are lacking page numbers, headers and footers. We therefore can use our default margins assuming they are one inch on the top and bottom and 1.25 inches on each side. To create a blank page after your cover page, and move the text to a new page, simply place your cursor at the beginning of the sentence and click Insert > Pages > Page Break.
Then replace the existing text with “This is our Title Page.”
Then with the cursor where it is at the end of this line, click Insert > Pages > Page Break.

On the new page, type: “This is our Copyright page”
Then with the cursor where it is at the end of this line, click Insert > Pages > Page Break.
Type: “This is our Dedication page”
Then with the cursor where it is at the end of this line, click Insert > Pages > Page Break.
Type: “This is our About the Author page”
Then with the cursor where it is at the end of this line, click Insert > Pages > Page Break.
Type: “This is our Table of Contents page”.
Step 7: Use a Section Break to insert the Preface Section
Insert a couple of paragraph breaks on the Table of Contents page. Then click Layout > Breaks > Next Page.

Place your cursor on the new page (after the section break) and type
“This is our Preface first page.” Then click Layout > Margins > Custom Margins.
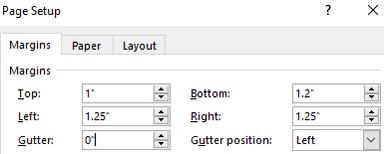
Here we have to do some calculations. We are going to place a footer with some roman numeral page numbers at the bottom of the Preface page. Recall that in an earlier chapter, we pointed out that MS Word handles header and footer calculations differently than LO Writer. Writer places headers and the footers inside of the content area in order to maintain the actual page margins. However, MS Word places headers and footers in the margins. So if margins are most important (and they are), we need to do some calculations that we did not need to do with LO Writer when we inserted headers and footers.
In our previous LO Writer template, we made the header and footer total height 0.20 inches (combining the spacing and the header or footer height). So that MS Word will make the actual bottom margin 1 inch, we need to set the Page Setup bottom margin to 1.2 inches. We then need to set the footer total height to 0.20 inches.
Then click OK. Then click Insert > Footer > Blank.
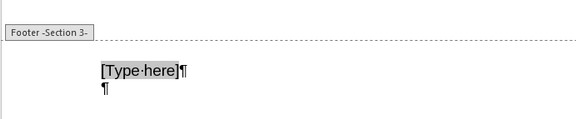
Type this is our custom book Preface footer. Then use the space bar to put in a few spaces. Then type Page followed by one space. Then click Insert > Page Number > Current Position > Plain Number.
Sadly, this placed the footer on at the bottom of all of the sections.

In the ribbon, click Previous to go back to the second section. Link to Previous and for Delete this footer, click Yes. Go to the footer in Section 2 and click Insert > Footer> Remove Footer. This now leaves just the footer in Section 3. There is no more Same as Previous.
But it still shows page 8. Select the page number 8 and in the top ribbon, click Page Number > Page Number Format:
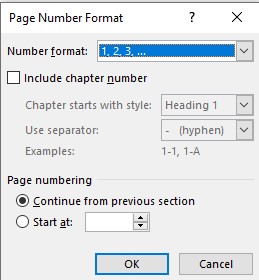
Change the Number format to lower case roman numerals and change the Page numbering to start at 1. Then click OK. Then close the Header and Footer. We now have our cover page, front matter page and Preface first page set up.
What’s Next?
In the next section, we will set up the chapter section first page, the chapter content section pages and the Back Matter section page.