Recall from our previous chapter that we want the main title on the title page to be formatted with the Heading 1 paragraph style. We will then format the Preface Title and Chapter Titles with the Heading 2 paragraph style. Finally, we will format our Section titles with the Heading 3 paragraph style. We will then insert our Table of Contents.
Step 1: Apply Heading 1 Paragraph style to our Book Title
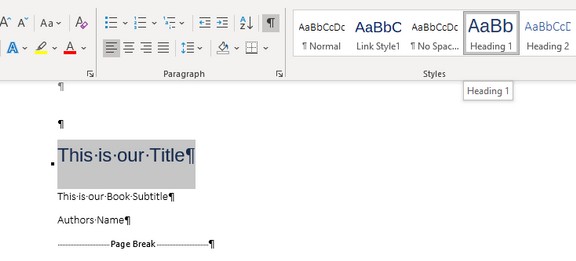
On the Book Title page, type a sub-title below the book title and type the authors name below the sub-title. We will now apply the Heading 1 Paragraph style to our book title.
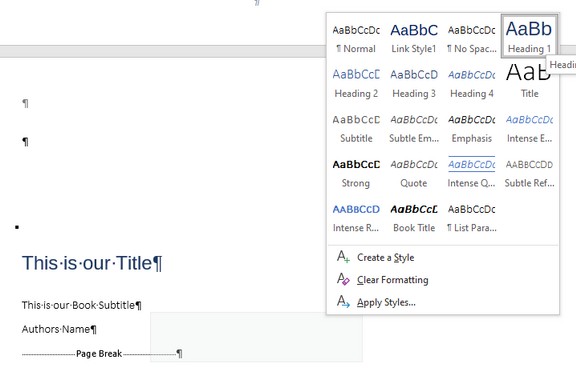
There is a bit of confusion in changing the Paragraph styles in MS Word as there are in fact several ways to change Paragraph styles in MS Word and they do not always have the same result. As we have explained previously, a common place to change paragraph styles is from the Home tab. To change the title from the Normal paragraph style to the Heading 1 paragraph style, just select the text and click the Heading 1 option in the Styles group on the Home tab: Home tab > Styles group > Heading 1 Box.
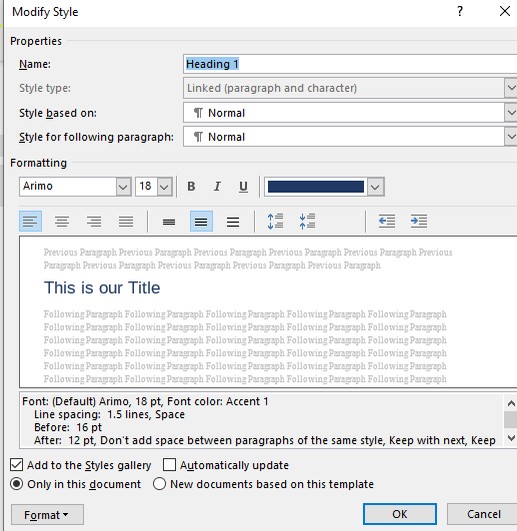
To modify the Heading 1 paragraph style, you can right click on the Heading 1 style box, then click Modify which brings up the following screen:
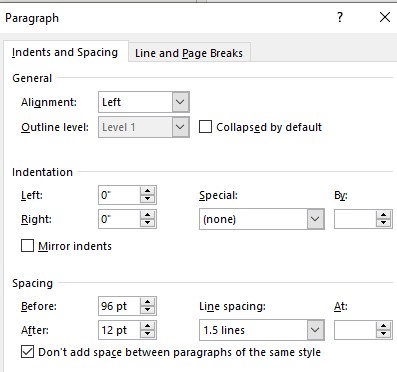
Then in the lower left corner, click Format > Paragraph which brings up this screen:

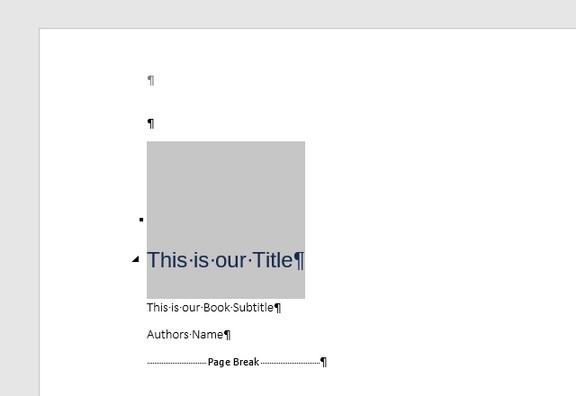
In order to move the Book title down to the middle of the title page in our custom book template, we can increase the Spacing before the Heading 1 paragraph from 16 pt to 96 pt. Note: 72 points equals 1 inch. Therefore 96 pts is about 1 1/3 inches.
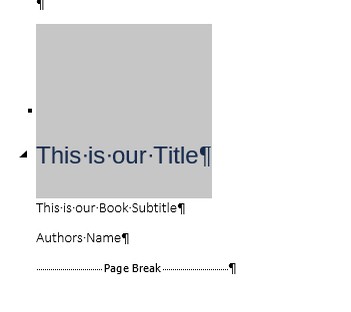
Then click OK. Then click OK. Now select our title and view the spacing above:
So far, our title has the correct appearance.
A second way to change the Heading 1 paragraph style from the Home tab is to select the title text and then go to the Paragraph group in the ribbon and click on the Line and Paragraph spacing icon.
Home > Paragraph Group > Line Spacing icon.
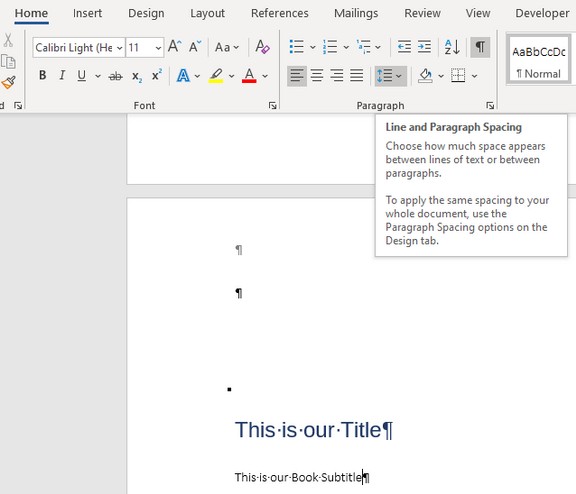
Then click Line Spacing Options.
The spacing before paragraph on this screen is 96 pts which is what we would expect as this is the value we just set on our Heading 1 style modify screen.
However, increase the Before (Paragraph) Spacing to 196 pt. Then click OK. This doubles the spacing above the paragraph.
A third way to change the Heading 1 paragraph style is to select the title text. Then right click.

Then click Paragraph. This has the same result as clicking on the Line Spacing icon in the Paragraph group and shows 196 pts.
A fourth way from the same right click screen is to click Styles which brings up a panel with all of the Styles.
Right click on the Heading 1 Style Box and click Modify. Some of the styles can be changed on the Modify Style screen. But Paragraph spacing requires clicking on the Format button in the lower left corner.
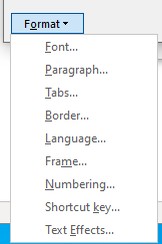
Then click on Paragraph.

Note that the Heading 1 paragraph style is still set for 96 pts - even though we just changed it to 196 pts!!! What happened??? Why was the change we made above not carried forward to this Heading 1 Paragraph style screen??? After all, the changes we made on this screen were carried over to the other Heading 1 paragraph screen – a screen that looks almost exactly like this screen!
To confirm this difference, cancel this screen. Then select the title text and go back to the Line Spacing icon on the Paragraph group in the Home tab.

This Paragraph screen clearly has priority over the Paragraph Styles screen. Reduce the paragraph before spacing to 16 pts. Then click OK. Note that the Before spacing changes on the actual Title Text.
Then select the text again and right click on the Heading 1 style and click Modify. Then click Format Paragraph. The Heading 1 Paragraph Style screen is still set for 96 pts. But the actual appearance of the heading 1 Spacing Before Paragraph is only 16 pts.
The actual spacing for this Heading 1 tag is not controlled by the Heading 1 Paragraph Style screen. Rather it is controlled by the Paragraph Line Spacing icon.
Note: Clicking on the small arrow in the lower left corner of the Paragraph group has the same effect as clicking on the Line Spacing icon.
Finally, select the title text. Then right click and click Styles, Clear Formatting. This will eliminate all direct formatting and style formatting on the title text and return the text to the normal style.
Then select the title again and change it to the Heading 1 style.
Now the title text displays the correct before paragraph spacing that we defined in the Heading 1 Paragraph Style screen
Select this text again and click on the Line Spacing icon. Now the Paragraph line spacing correctly displays the same line spacing as our Heading Paragraph Line spacing.
From the above, we can conclude that the Paragraph group functions and icons are not Paragraph style functions at all. Instead, they are some sort of character styling or direct styling – both of which have priority over the actual Paragraph Styles.
Since we want to control the appearance of Heading 1, Heading 2 and Heading 3 titles with actual Heading 1, Heading 2 and Heading 3 paragraph styles, we should avoid using the Paragraph group quick icons and the Paragraph group small arrow and the right click Paragraph option. All three of these methods would over-ride our actual paragraph styles and cause a great deal of confusion over how to control the appearance of these important styles.
The bottom line is that the correct way to change the Heading 1 Paragraph Style is to only make changes in one of the styles menus (either the Styles Group on the ribbon or the Style button after selecting the text and right clicking. Then select Heading 1. Then right click and click Modify. Then click Format > Paragraph. Then click OK.

Tip: One way you can tell you are on the correct styles screen is that the lower left corner has a Format button. If the screen has a Tab button in the lower left corner, then you are on the wrong screen.
Step 2: Assign the Preface title to the Heading 2 style.
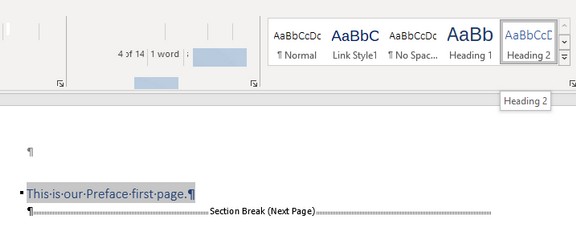
Scroll down to the Preface 2 title and select it. Then click on the Heading 2 Paragraph Style in the Styles group.
Step 3: Assign the Chapter 1 Page 1 title to the Heading 2 style
Scroll down to the Chapter 1 Page 1 title and select it. Then click on the Heading 2 Paragraph Style in the Styles group.
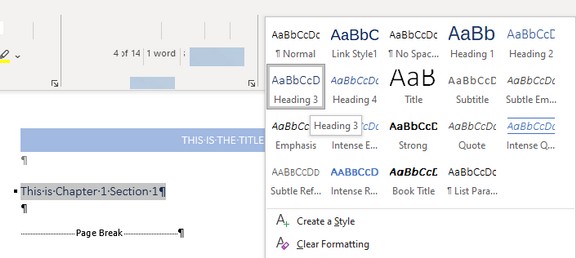
Step 4: Assign the 4 Chapter 1 Section Titles to the Heading 3 style
Step 5: Assign the Back Matter title (Learn more about this topic) to the Heading 2 style.
Step 6: Create a Table of Contents
Scroll up to the Table of Contents page. Place your cursor where you want to insert the Table of Contents. Then click the Reference tab > Table of Contents > Custom Table of Contents.
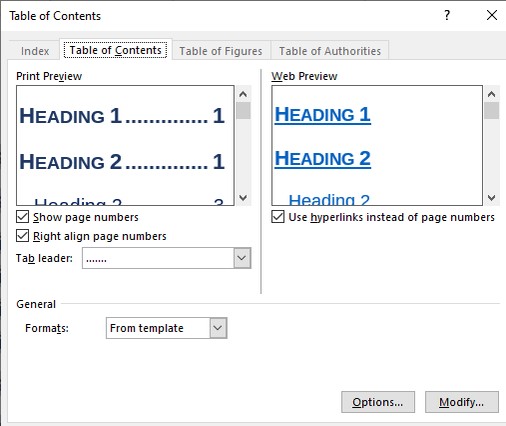
We need to choose the custom option because we will not be using the Heading 1 style in our custom table of contents. This screen will appear:
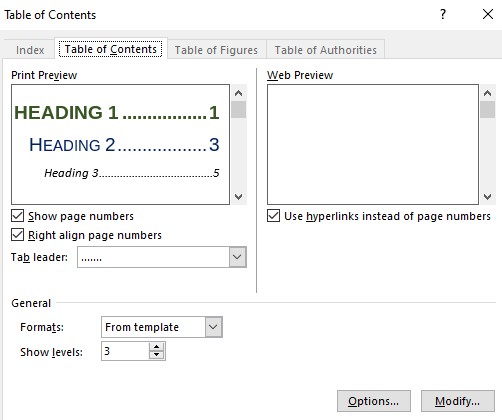
Leave the Format set for From Template. Change Show levels from 3 to 2. Then click on the Options button.
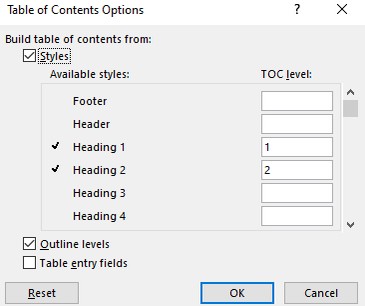
Delete the 1 to the right of Heading 1. Change the right of heading 2 from 2 to 1. Place a 2 to the right of Heading 3. Then click OK. Then click on the Modify tab.
The primary styles we want to modify are TOC 1 and TOC 2. These styles can also be modified later from the Home Tab Styles Group.
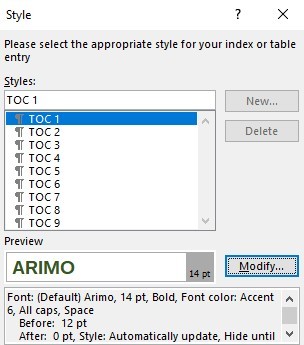
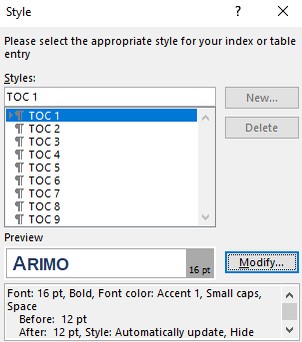
With Styles set for TOC1 click Modify.
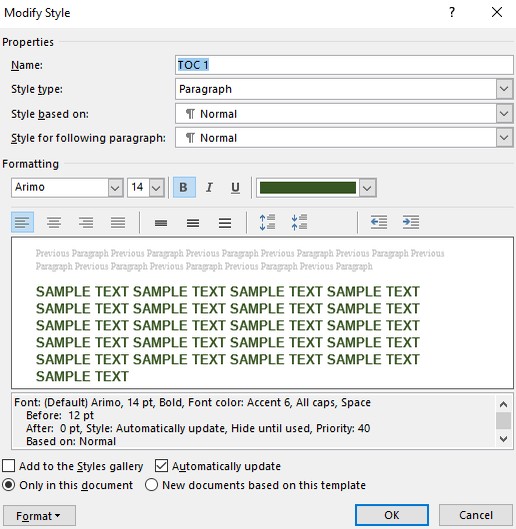
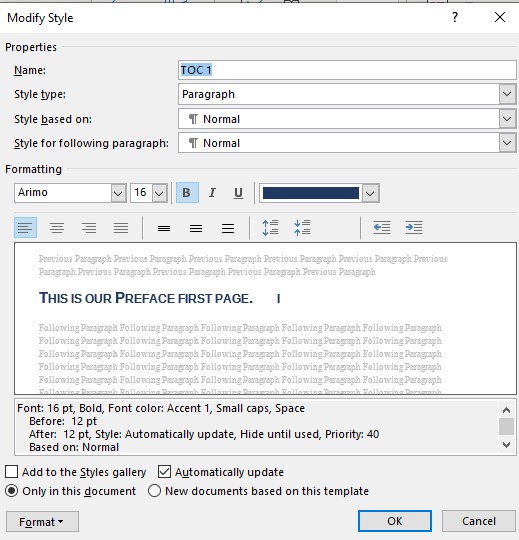
Increase the font size from 14 to 16 and change the color to dark blue. Then click on Format > Paragraph. Make the Before and After Spacing 12 pt. Then click OK and OK.
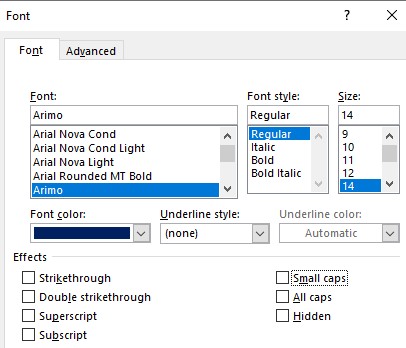
Then click on the TOC 2 style and click Modify. Then click Format Fonts. It is OK to use Small Caps for the TOC level 1 style. But we do not want small caps on the TOC level 2 style.
So for Effects, uncheck Small Caps.
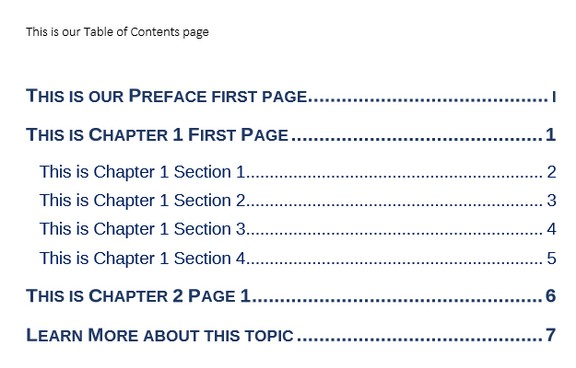
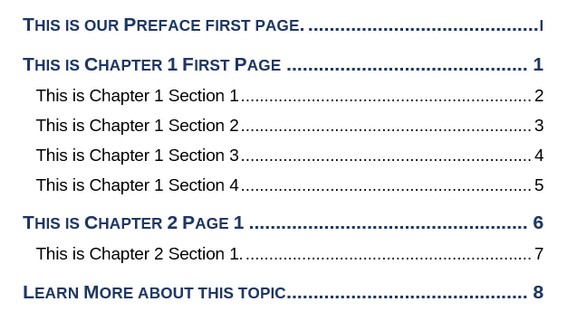
Then click OK and OK. Then OK. Then OK. Here is the result:
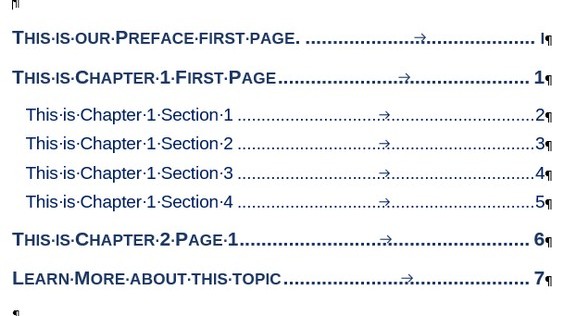
Save this file as a PDF and view the table of contents.
How to Edit an MS Word Table of Contents after it is Created
It is not as apparent how to edit an existing table of contents in MS Word as it is in Libre Writer. In Libre Writer, you just right click and click Edit Index. However there is no right click context menu to edit a Table of Contents in MS Word. In fact, many books and courses simply recommend deleting the existing table of contents and creating a new one. However, it is possible to edit an existing table of contents. Here is how to do it. First, click References. Then click the drop down arrow for the table of contents section. Then select the type of table of contents you are already using. In our case, we have used the Custom Table of Contents. This brings up this screen:
Click on Options. You will see that this is a new version of the table of contents we previously created because we only wanted the Heading 2 titles and Heading 3 titles to be in our table of contents and the default is to also include the Heading 1 paragraph style:

You will need to delete the 1 for Heading 1. Then click OK. Then click on the Modify button.
This is more encouraging because it shows the changes we made in our existing table of contents. Click the second Modify button.
It shows the TOC 1 Paragraph style. It is set for Automatically Update. This box should be unchecked. If the Automatically Update box is left turned on, any direct formatting change you make to any instance of that style will automatically change the style definition for all instances of that style! For example, if you change a given TOC 1 line italic using direct formatting, all TOC 1 lines will suddenly become italic. This is yet another example of how the default settings in MS Word can create major problems for beginners.
Then click Format > Paragraph. Reduce the Spacing after the paragraph from 12 pt to 6 pt in order to keep the TOC 1 items closer to the TOC 2 items below them. Then click OK. Then click OK. Then select the TOC 2 paragraph style and click Modify. Uncheck the Automatically Update box with this style also. Then click Format > Font and change the font color to black. Then click OK and click OK. and OK again. and OK again. This screen will appear:
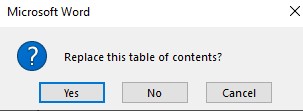
The above screen is misleading. The correct answer is Yes. What MS Word is really asking you is if you want to use the new values you put in to your table of contents or if you want to keep the old table of contents before you made your changes and also insert your new table of contents with the changes. After clicking Yes, here is the result:
Having more space above the TOC 1 paragraph style than below the TOC 1 paragraph style makes it clearer that the Level 2 TOC 2 items belong with the chapter titles above them.
What’s Next?
Now that we have a custom book template table of contents, in the last section of this chapter, we will finish formatting several important paragraph styles.