In the two previous sections, we created 8 custom book page styles and added 7 of them to our custom book template. We also divided our front matter section into several separate pages with page breaks and we divided our chapter 1 content into four sections by inserting page breaks. In this section, we will use Heading paragraph styles to create a two level Table of Contents.
Step 1: Apply the Heading 1 Paragraph style to the title of your book
As we explained in a previous chapter, your book should use the Heading 1 paragraph style only once and this should be at the very beginning of your book. In the previous section, we added a cover image to the first page and a blank page to the second page of our book template. Thus, the actual printed title of our book is on the third page which is also called the Title Page. Change “This is the title page” to “This is the title of my book”
You can then add a sub-title and authors name below the title. Then select the title and click the Heading 1 page style (either by selecting it in the top menu or selecting in the Paragraph section of the Styles panel. Then select all three lines and center align them on the page.

The problem with the default Heading 1 paragraph style is that it places the title too close to the top of the title page. To push the title further down towards the middle of the page, we could insert a bunch of paragraph breaks. But it is better to avoid using these as much as possible. So instead, we will modify the Heading 1 Paragraph style.
Open the Style Panel if it is not already open. Then find and right click on the Heading 1 page style (Note that selecting the heading 1 text in the document will take you directly to the Heading 1 Paragraph style).
Then click Modify. Then click on the Indents and Spacing tab.
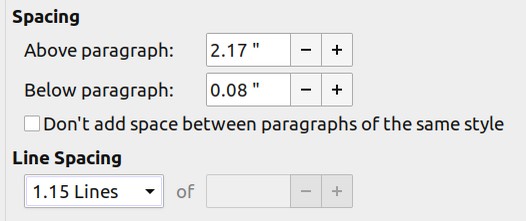
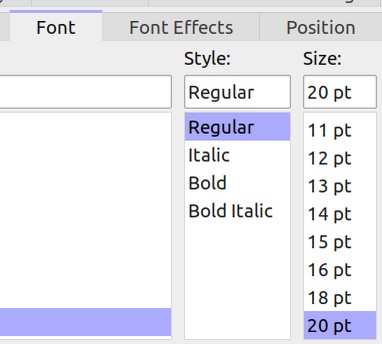
Increase the spacing above the paragraph from 0.17 inches to 2.17 inches. Then increase the line spacing to 1.15 lines. Then click on the Font tab and change the font from 130% bold to 20pt Regular (type the value into the box to change the units of measure):
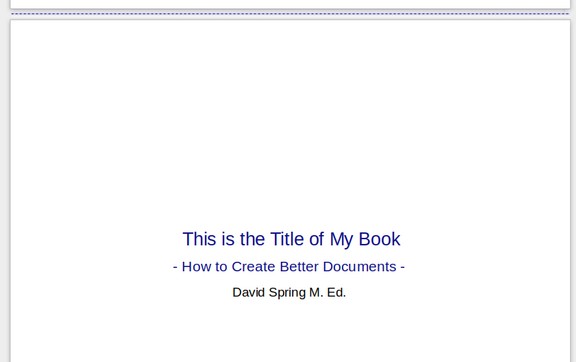
Then click on the Font Effects tab and change the Font Color from Automatic to Custom - dark blue (#111188). You can also apply the subtitle paragraph style to the subtitle. We have modified the subtitle to be 16 pt, dark blue:
Step 2: Apply the Heading 2 Paragraph Style to the Preface title
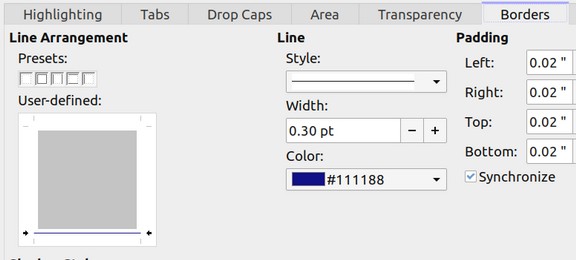
Now that we have taken care of the Heading 1 page style, scroll down to the Preface page. Select the text and assign it to the Heading 2 page style (which we will also use for the chapter titles of our book). We want this style to look distinctive. So make the Spacing .20 above and 0.08 below with the line spacing 1.15. Make the Font Size Regular, 18pt and the Font Color dark blue (#111188). Then add a bottom border that has a width of 0.30 pts and a color of dark blue:
Then click OK.

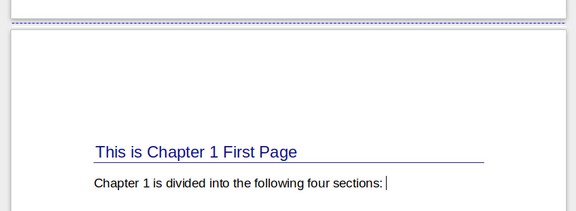
Step 3: Apply the Heading 2 Paragraph Style to the title of your First Chapter
Scroll down the page and select the title of your first chapter. Then assign it to Heading Style 2 by clicking on paragraph Heading 2.
Step 4: Apply the Heading 3 Paragraph Style to the title of each of the four sections in your First Chapter
Scroll down to the first section of your first chapter. Select the title and click on the Heading 3 paragraph style. Make the spacing 0.20 above and 0.08 below and the font 16pt bold and dark blue:

Then scroll down and apply the Heading 3 paragraph style to the other three section titles.
Step 5: Insert your Table of Contents
Scroll back up to the Table of Contents page which is just before your Preface page. Place your cursor in this page where you want to begin the Table of Contents. Then in the top menu, click Insert, Table of Contents, Table of Contents. This will bring up this screen:
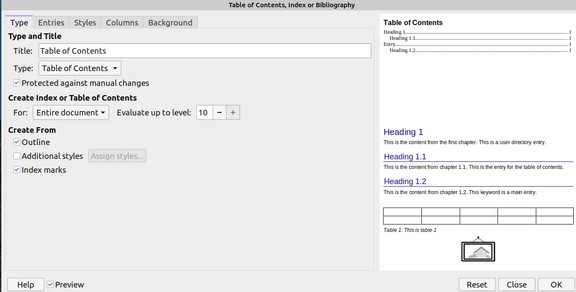
Click OK:
Step 6: Use Chapter Numbering to Fix your Table of Contents
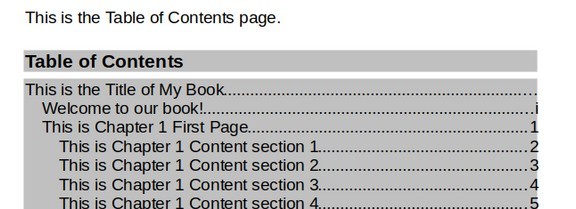
Sadly, Writer has used the Heading 1 paragraph style in our Table of Contents. To tell Writer we do not want to do this, we need to go to the top menu and click on Tools, Chapter Numbering.
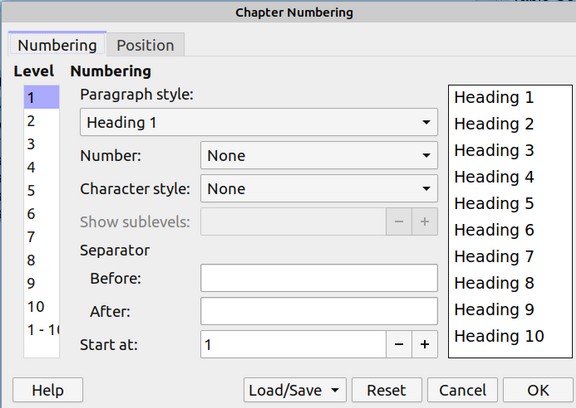
By default, Writer sets the Heading 1 paragraph style to be Level 1 and the Heading 2 paragraph style to be Level 2. Use the drop down arrow to change the Level 1 paragraph style to Heading 2.
Also change the numbering to be 1, 2, 3…
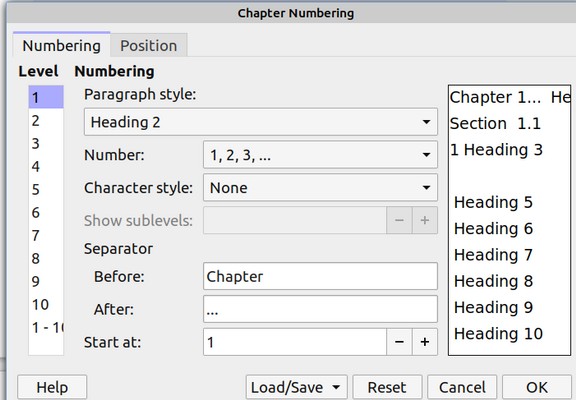
Also add the word Chapter (plus a space) as a Before separator and three dots as an after separator. Then click on Level 2.
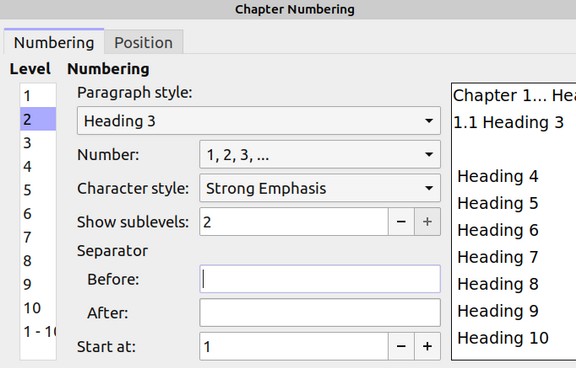
Change the Paragraph style to Heading 3. Change the Character Style to Strong Emphasis, change the sub levels to 2. Then click OK. Then place your cursor anywhere in the Table of Contents and click Update Index.
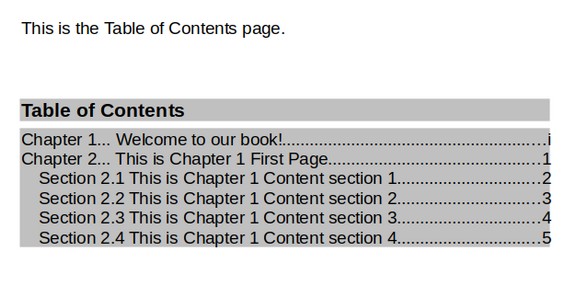
This is getting better but still not exactly what we want. Writer thinks that our Preface is our first chapter.
Step 7: Delete the Chapter Number from your Preface
To fix the Preface being called a chapter, go to the Preface and delete the “Chapter 1...” which Writer has mistakenly added to the Preface title. Click File Save and then go back to the Table of Contents and click Update Index again.
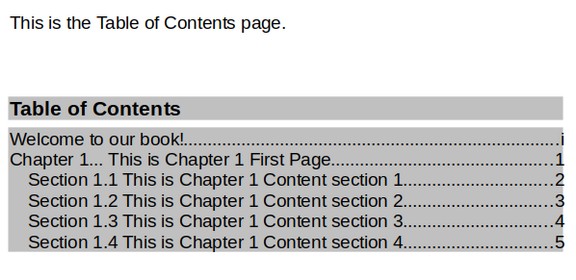
Writer has finally figured out what we want. We can now add as many chapters and sections as we want and Writer will add the correct Chapter and Section numbers to all of them.
Step 8: Add the Book Title to the Table of Contents Heading
Delete the place holder sentence “This is the Table of Contents page.” Then right click on the Table of Contents and click Edit Index.
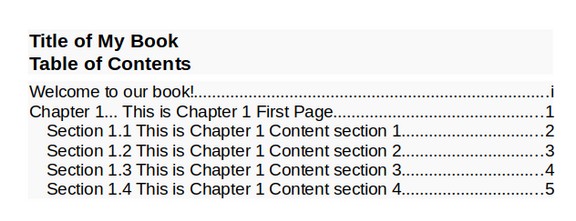
Click on the Type tab. Then add Title of My Book to the beginning of the title and add enough spaces after the title to drop the words Table of Contents down to the second line on the Preview screen.
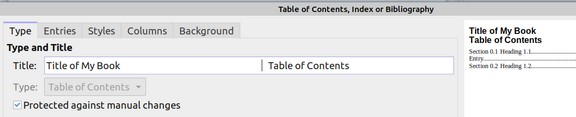
Also click on the Background tab and change it from None to White. Then click OK.
What’s Next?
This is only the beginning of creating our Table of Contents. In the fourth and final section of this chapter, we will review how to improve the appearance of the Table of Contents with custom paragraph styles. We will also use custom paragraph styles to improve the appearance of our headers and footers with custom paragraph styles.