After images and text, tables are the most common elements found in documents. If you want to present a lot of data in a logical way, then tables can be very useful. When you create a table with either MS Word or LO Writer, you begin with an initial number of rows and columns – which you can add to or subtract from later. Default plain looking tables can be OK as long as they do not have too many rows or tables. But if you have a lot of rows and tables, you will want to spend some time to format them in order to help make your data easier to read and more understandable.
Formatting Tables with MS Word
Let’s begin with MS Word by creating a new blank document called Table Test Document. Then go to Insert, Table and click the Drop Down arrow.
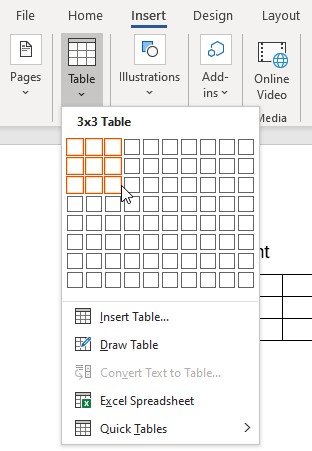
Select a few boxes. Then click on it and your table is entered in your document.
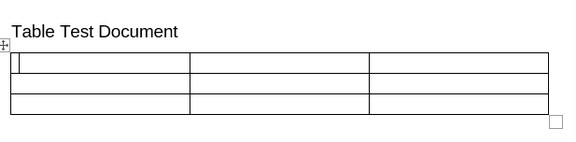
When the table is selected the Table Design Ribbon appears in the top menu.

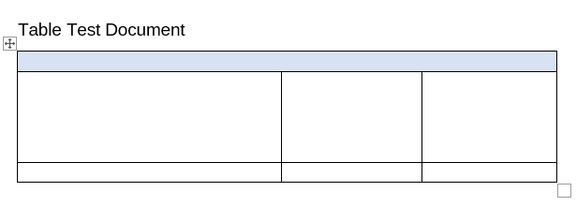
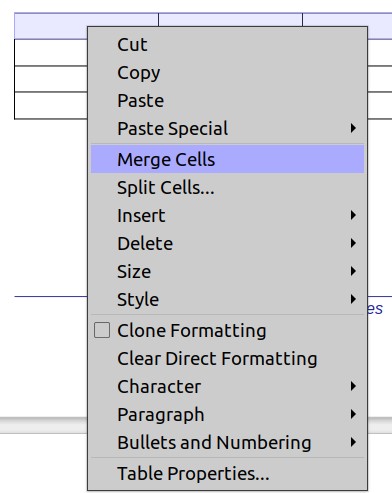
If you want to merge all the cells together in the top row, select the cells you want to merge and right click:
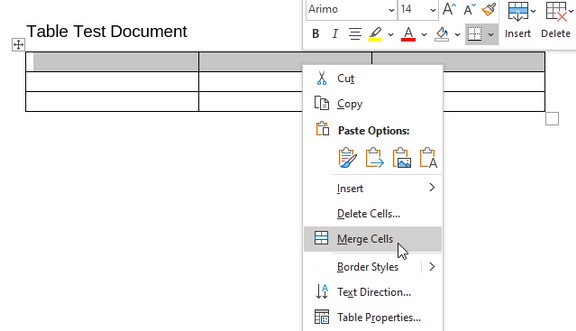
Then click Merge Cells.
If you want to make the top row a different background color, select the row. Then click on Shading and pick a background color.

If you want to make a table a different width, you could just select and move lines with your cursor. But a more accurate method is to right click on the table and click Table Properties.
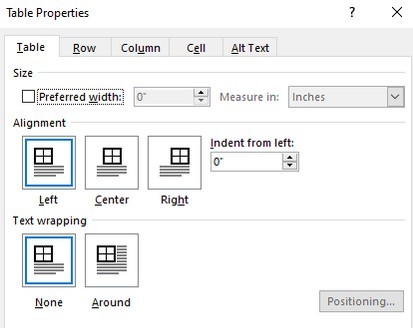
Let’s say you wanted to make row 2 taller. Select Row 2. Then click on Table Properties, Row.

You can then click on the Previous row or Next row to change their height. If you want to increase the height of all of the rows, simply select all of the rows at the beginning.
If you want to make some columns wider and others narrower, select one of the the columns, then click on Table Properties, Column. Sadly, this will not work with this table because we have merged the columns in the first row and Word is not sure which columns we want to change the width of. So instead, we will select and move the lines:
To add more rows, place your cursor in a blank row. Then right click and click Insert, Row Below:
Word will match the height of the row that was selected.
Formatting Tables with LO Writer
LO Writer table creation and formatting is only slightly different from MS Word. LO Writer devotes an entire top level menu item to table formatting.
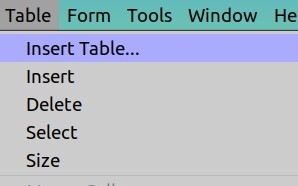
Click Insert Table to bring up this screen
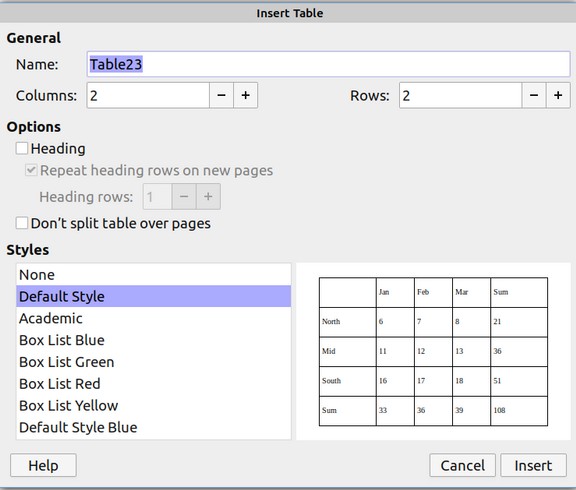
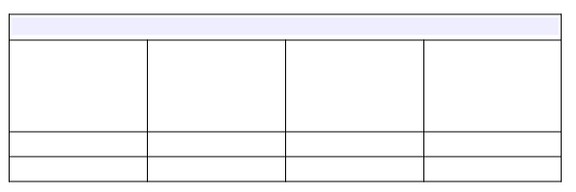
Select the number of columns and rows you want, then click Insert to get a table with the default style.
Once a table is inserted and selected, the Insert, Delete, Select and Size options all reveal sub menus. To merge the cells in the top row together, select them. Then click merge cells.
To change the background color of the top row, select the row. Then in the formatting toolbar, click Background color icon.
To increase the height of a row, select the row and click on Table, Size, Row Height.
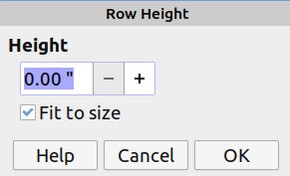
Give it a height of one inch and click OK.
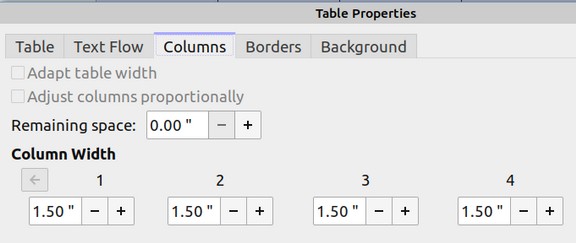
To change the width of rows, your best bet is to select the columns you want to change the width of. Then right click and click Table Properties.
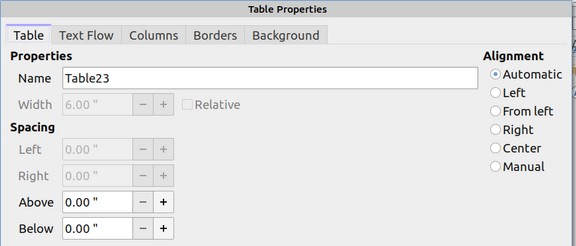
Here you can precisely divide up the columns in whatever way you want.
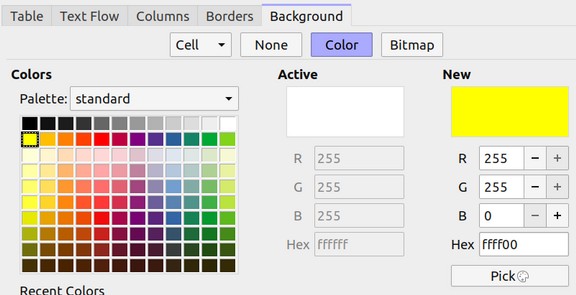
To change the background colors of all of the selected columns, click on Background, Color and select the color you want.
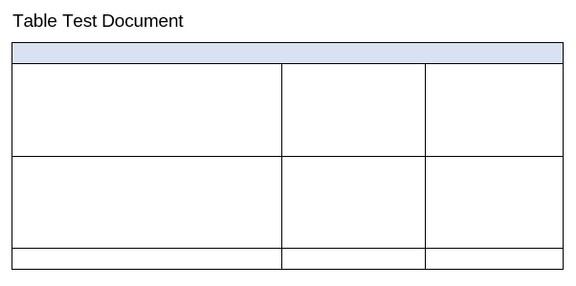
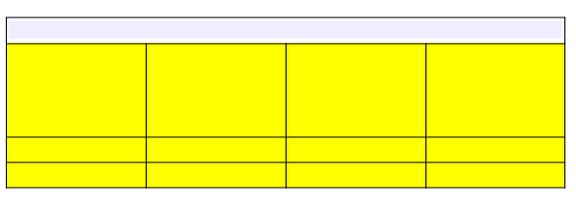
Here is the result.
There are three places you make changes with existing tables once one has been inserted into your document. The easiest option is to right click on the table. The second option is to click on the table and then click on the Table top level menu item. The third option is to click on a table and then click on the Table toolbar that appears at the bottom of the Writer screen when a table is selected.

It can be a lot of work to create a table that looks exactly the way you want. Rather than doing this process one table and a time, it is generally better to create your own custom table styles. We will look at that process next.