#1 How to Install Five Free Metric Equivalents in Linux Mint
While all five of these fonts are available for free download as Google Web Fonts, the easiest way to download and install these five fonts on a Linux computer is to open the Linux Mint Software manager and type Fonts-croscore into the Search Box.
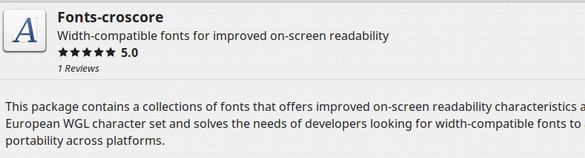
Install this package to get Arimo, Tinos and Cousine. Then type Fonts-crosextra-carlito to install Carlito. Then type Fonts-crosextra-caladea to get Caladea.
To see these five new fonts in LibreOffice, first re-start LibreOffice. Then open a new Writer document.
Set LibreOffice to use these free metric equivalents
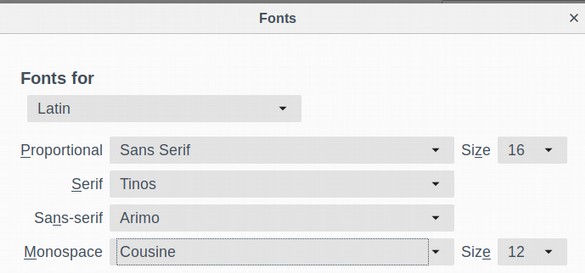
Click on File, Templates, Open Template to open your default template. Then click on Tools, Options, LibreOffice, Fonts. Then check Apply Replacement Table.
Then one by one, enter the fonts you want to replace followed by the replacement fonts.
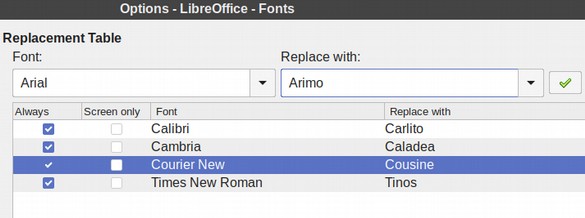
Click the Green Check mark to add each replacement to the table. Then click Always. Then click OK.
Next click Tools, Options, LibreOffice Writer, Basic Fonts.
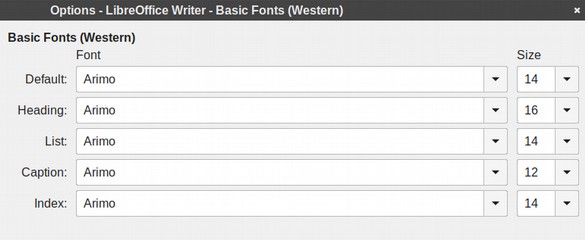
Change the fonts from Liberation to Arimo. Then click OK.
Next click on Styles, Manage Styles, Text Body, Modify. Then click on the Font Tab and make sure the Family is set for Arimo Size 14.
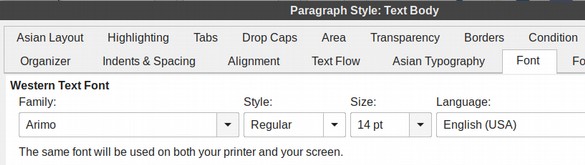
Click OK. Then click on the Default Paragraph Style and make sure it is also set for Arimo Size 14. Then save and close the template.
Set your Web Browsers for these free metric equivalents
Open Firefox and in the upper right corner, click on the three bars. Then click on Preferences. Then scroll down to Fonts and Colors. The default font in Linux Mint is DejaVu Serif 16. Click on the Advanced tab. Then change Proportional from Serif to Sans Serif. Change Serif from DejaVu to Tinos, DejaVu Sans to Arimo and Monospace from DejaVu Mono to Cousine. If you inspect this browser, you will see it still uses Helvetica, Arial for the default font. This is because these were set as fonts for Yahoo Search. On web pages that do not have a custom font, you would see Arimo 14.
Then click OK. Next open Chromium and click on the three dots in the upper right corner.
Then click on Settings, Appearance, Customize Fonts. Change the standard font to Arimo, the Serif font to Tinos, the San Serif font to Arimo and the Mono font to Cousine. If you inspect this browser, you will see it still uses Roboto, Arial for the default font. But this is because these were set as custom fonts for Google Search. On web pages that do not have a custom font, you would see Arimo 14.
How to add custom google fonts to MS Word
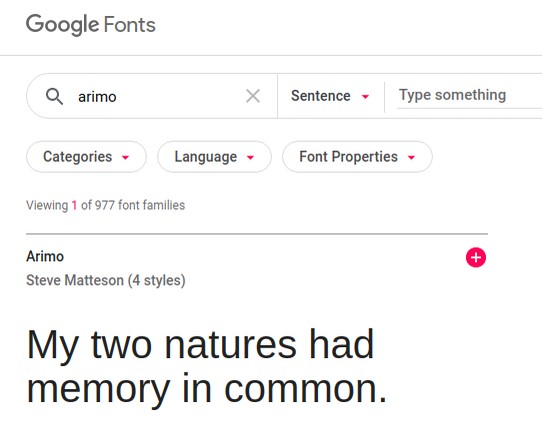
First download Arimo and any other fonts you want from the Google Fonts website.
Click on the red plus sign. Then click on the black bar that pops up at the bottom of your browser window. Then click on the Download arrow and click on the word Download. Then close your web browser and open your Windows file manager. Click on your downloads folder and right click on the zipped font folder and click Extract to open it.
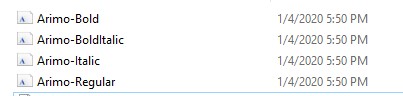
Then right click on each font and click Install for All Users. Close the file manager. Open a new blank document with MS Word. Your new custom fonts will now be available in Word.
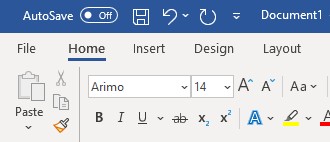
You can even make Arimo the default font by changing the default MS Word template as we described in an earlier chapter.
What’s Next?
Now that we know about Page Styles, Paragraph Styles and Character Styles, in the next chapter, we will learn how to create, add and format images and other graphics.