If you have a lot of images and you want to refer back to them in your book or report, or if you simply want to better organize your images, you should consider adding captions to all of your images. This is generally best done after creating all of the images in a given chapter so that you can number the images with Figure 1.1, Figure 1.2, etc.
To add a caption to an image in Word, right click on it and choose the Caption option which brings up this caption screen:
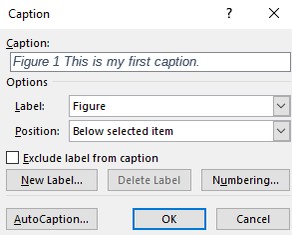
Type in the caption and click OK. Here is the result
The process for Libre Writer is similar but with more options. Here is how to add a caption to Libre Writer:
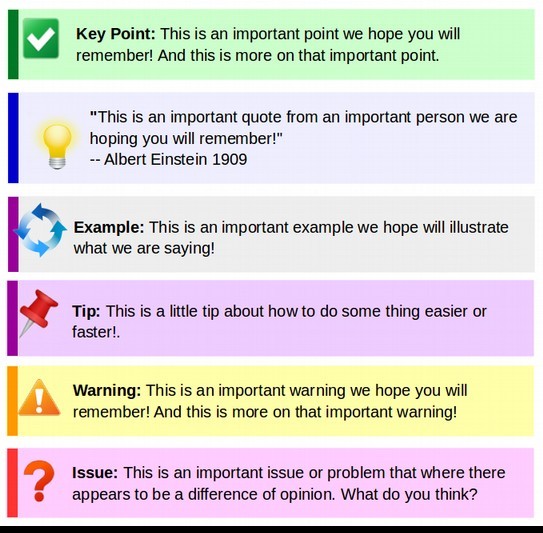
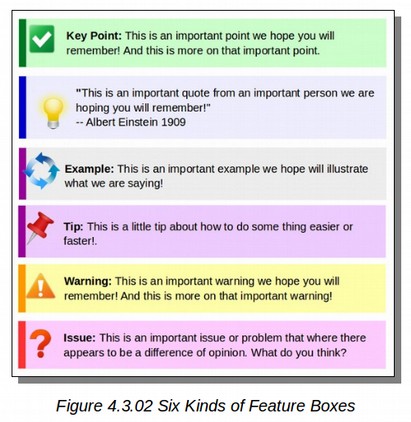
If we are adding a caption to the third image in Chapter 4, we could call it Figure 4.03 Type in a Very Short Description. We use two digits for the image number because we may have as many as 40 images in Chapter 4. Here is our image without a caption.
To add a caption, left click on the image to select it. Then right click on the image to bring up our options and select Insert Caption (the second option from the bottom).
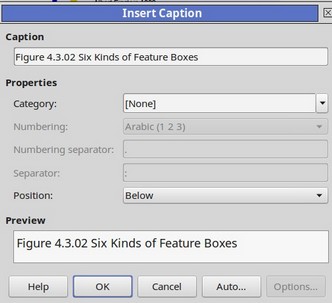
This brings up the Insert Caption window:
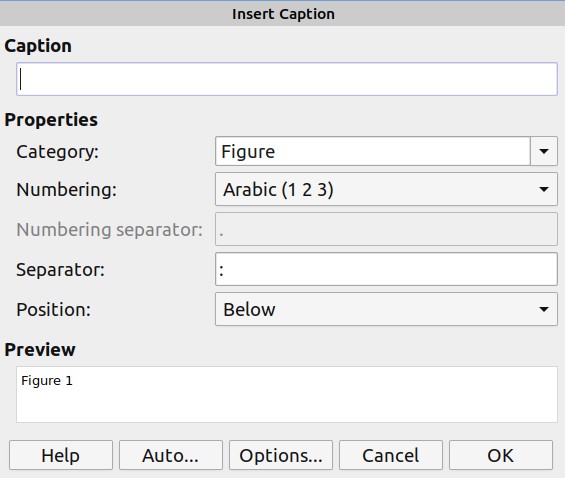
For Category, use the drop down arrow to select None. Then name the caption Figure 4.02 Six Kinds of Feature Boxes. Then click OK.
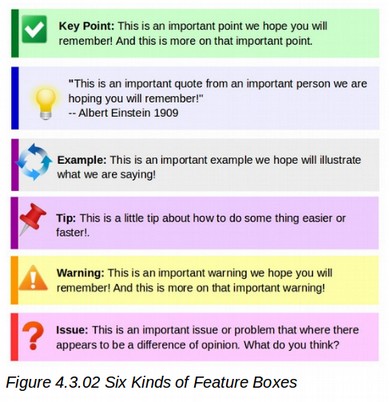
Our image now has a caption below it but the image is not yet styled and the caption is aligned to the left when we want to have it aligned to the center.
Place your cursor in the caption and you will see that the caption uses a paragraph style called Caption. Open the Styles Panel and right click on Caption. Then click Modify. Click on the Alignment tab and change the alignment from Left to Center. Then click Apply and OK. To center all future images in all future documents, change the Caption style in your template as well.
Next we want to add a nice border around our image.
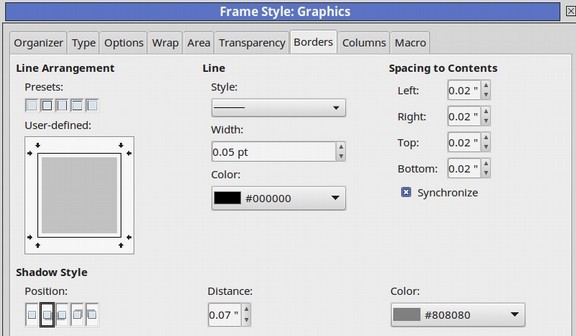
We could just change the border properties on this single image. But we want all images in our document to have the same border. So we will change the border of our Graphic style. Open our Style panel. Then click on the Frame Styles. Then right click on the Graphics style. Then click Modify. Then click on the Borders tab. Then click the Line Arrangement Presets to all borders. Then click the Shadow Style Position to Below and Right. Then click Apply and OK.
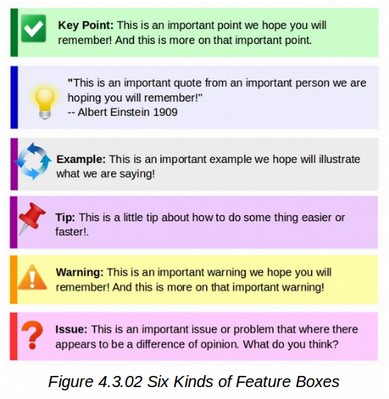
Here is what our image now looks like with a nice border around it.
Our final task is to place a background behind the caption to offset it from the page background. We could just give our Caption paragraph style a background.
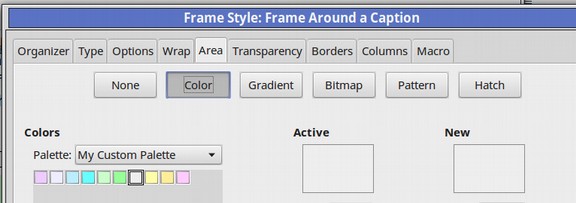
But a better solution is to apply a style to the new frame that LibreOffice has conveniently placed around our caption when we created it. Click just below the caption and to the right of the caption to select this new caption frame. By default, it is styled with our normal Frame style. Left click on this frame style to select it. Then right click and click New. We will call this new frame style Frame around Caption. Click on the Background tab and select a light gray color.
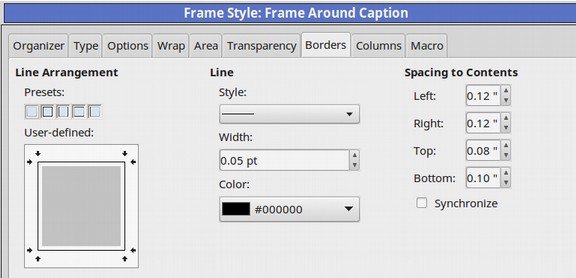
Then click on the Border tab and select a thin border all around. Also for Spacing to Contents, uncheck Synchronize. Then make the left and right 0.12, the top 0.08 and the bottom 0.10 inches.
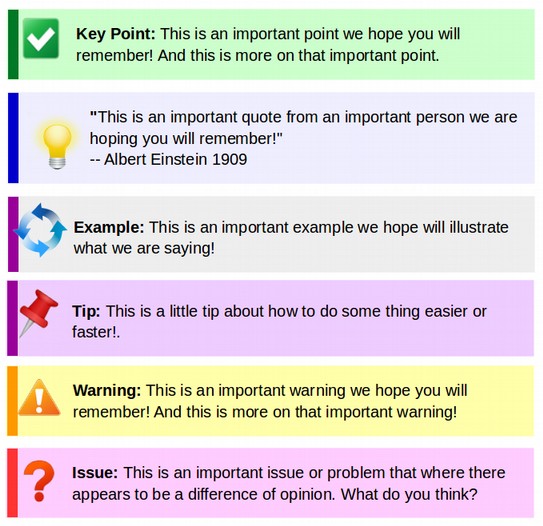
Then click Apply and OK. Here is what our image now looks like.
By adding these styles to our Template, we can quickly add Captions and consistent styles to any given image in less than one minute per image. If we have about 15 images per section and four sections per chapter, then we can style all 60 images in our chapter in about one hour and style all 600 images in our book in about 10 hours. This may seem like a lot of time and effort. But it is the difference between having a professionally styled book versus having a plain poorly styled book.
What’s Next?
In the next chapter, we will look at how to style two other important components found in many documents, tables and lists.